2 Ingredient Bagels: The Easiest Homemade Bagels You’ll Ever Make
Bagels are a beloved staple around the world—crispy on the outside, soft and chewy on the inside, and endlessly versatile. But if you’ve ever thought making them from scratch was too complicated or time-consuming, this recipe is here to change your mind forever.
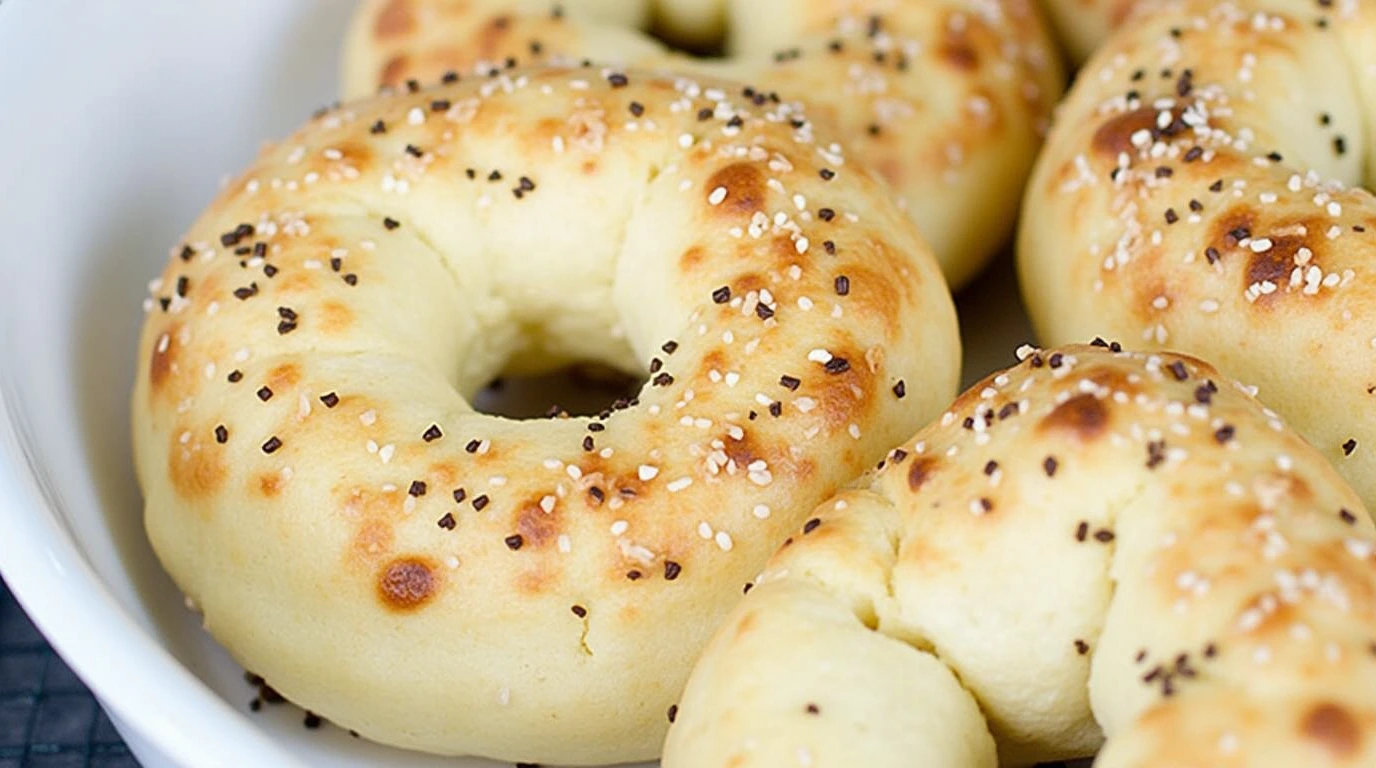
Introducing the 2 Ingredient Bagels: a simple, no-boil, no-rise recipe that yields delicious, fluffy bagels with just two pantry-friendly ingredients. Whether you’re short on time, trying to eat healthier, or just looking for a fun baking project, these bagels check all the boxes.
Who Are These Bagels For?
This recipe is a dream come true for:
-
Busy parents who want healthy snacks for the family
-
Home cooks on a budget
-
Fitness-focused individuals seeking high-protein, lower-carb options
-
Beginner bakers or those new to making bread
-
Anyone following special diets, including gluten-free, keto, or plant-based eaters
You don’t need any yeast, fancy baking tools, or hours of prep. These bagels come together quickly and bake up beautifully in just 20 minutes. You’ll never want to buy store-bought again.
Ingredients You’ll Need
This base recipe calls for only two ingredients, but there’s plenty of room for creativity and dietary adjustments.
Base Ingredients:
-
1 cup self-rising flour
You can use store-bought or make your own (see below). -
1 cup Greek yogurt or vegan yogurt
Thick, plain Greek yogurt works best for consistency and protein content.
Kitchen Equipment You’ll Need
-
Mixing bowl
-
Measuring cups
-
Spoon or spatula
-
Baking sheet
-
Parchment paper or nonstick spray
-
Your hands (for kneading and shaping)
-
Optional: pastry brush for toppings
That’s it! No stand mixer, no rolling pin, no boiling water needed.
Step-by-Step Instructions
How to Make 2 Ingredient Bagels:
-
Preheat your oven to 350°F (175°C). Line a baking sheet with parchment paper or lightly grease it.
-
Combine self-rising flour and yogurt in a mixing bowl. Stir until it forms a dough. If you’re adding any optional flavors or mix-ins, do so now.
-
Knead the dough with your hands until smooth. If it feels too sticky, add a bit more flour, 1 tablespoon at a time.
-
Form the dough into a ball, then divide into 4–6 equal portions depending on your desired bagel size.
-
Shape each portion into a bagel ring by rolling into a rope and connecting the ends, or simply poking a hole in the center.
-
Place on the prepared baking sheet. If you like, brush the tops with an egg wash or plant-based milk and sprinkle with your favorite toppings.
-
Bake for 20 minutes or until golden and cooked through. For extra crispiness, broil for an additional 2–3 minutes.
Optional Add-Ins & Variations
Flavor Ideas:
-
Everything Bagels: Top with everything seasoning blend
-
Cinnamon Raisin: Add 1 tsp cinnamon and a handful of raisins to the dough
-
Cheddar Jalapeño: Mix in shredded cheese and chopped jalapeños
-
Sweet Bagels: Stir in 1 tsp vanilla extract and a touch of sweetener
-
Garlic Herb: Add garlic powder, rosemary, and thyme to the dough
Topping Ideas:
-
Sesame seeds
-
Poppy seeds
-
Sea salt flakes
-
Shredded cheese
-
Sunflower seeds
-
Chia or flax seeds
Dietary Swaps and Tips
-
Vegan: Use non-dairy yogurt like almond, coconut, or soy-based options
-
Gluten-Free: Use a 1:1 gluten-free flour blend and homemade self-rising mix
-
Keto: Sub self-rising flour with a low-carb flour blend + baking powder + salt (note: texture will vary)
-
Dairy-Free: Opt for thick coconut yogurt or soy yogurt
-
High-Protein: Greek yogurt naturally adds a protein boost, but you can also add a tablespoon of protein powder
How to Store & Reheat
Storing:
-
Keep in an airtight container at room temperature for up to 2 days.
-
For longer storage, refrigerate for up to 5 days.
Freezing:
-
Allow bagels to cool completely.
-
Wrap individually in foil or freezer-safe bags.
-
Freeze for up to 2 months.
Reheating:
-
Toaster or toaster oven works best for crisping up the exterior.
-
You can also reheat in the oven at 350°F for 5–7 minutes.
Serving & Pairing Suggestions
These bagels are incredibly versatile and can be enjoyed sweet or savory.
Breakfast:
-
Spread with cream cheese or dairy-free alternative
-
Top with avocado and a poached egg
-
Make a bagel sandwich with eggs and cheese
Lunch or Dinner:
-
Slice and use for turkey or veggie bagel sandwiches
-
Mini pizzas: add sauce and cheese, then bake again
-
Serve with soups or salads as a hearty side
Snack or Dessert:
-
Spread with almond butter and banana slices
-
Top with honey and Greek yogurt
-
Dip into hummus or baba ganoush
Pair with coffee, tea, fresh juice, or even a protein shake for a balanced meal or snack.
Frequently Asked Questions (FAQ)
Can I make these bagels gluten-free?
Yes! Use a gluten-free 1:1 flour and mix with baking powder and salt to create your own self-rising flour. Just note the texture may be slightly different.
Is there a vegan option?
Absolutely. Use a thick vegan yogurt such as coconut or almond yogurt. Make sure it’s plain and unsweetened for the best results.
What if my dough is too sticky?
Gradually add more flour, one tablespoon at a time, until the dough is manageable. The dough should be tacky but not wet.
Do I have to boil these bagels before baking?
Nope! These are no-boil bagels. Baking them directly gives you that perfect outer crust without the extra step.
Can I make mini bagels?
Yes! Simply divide the dough into more portions and reduce baking time slightly (check for doneness at 15 minutes).
Why are my bagels doughy in the center?
Make sure your oven is fully preheated and avoid opening the door during baking. If your bagels are thick, consider adding a few minutes of bake time or broiling briefly at the end.
Final Thoughts
With just two ingredients and endless variations, these 2 Ingredient Bagels are a must-try recipe for anyone who loves homemade baked goods without the fuss. They’re quick, versatile, and perfect for meal prep or spontaneous cravings.
Whether you enjoy them plain, loaded with toppings, or turned into sandwiches, these bagels deliver big flavor with minimal effort.
If you tried this recipe and loved it, please share it with your friends and family, and don’t forget to subscribe to the blog for more easy, healthy recipes and kitchen tips. Your support helps keep these delicious ideas coming!