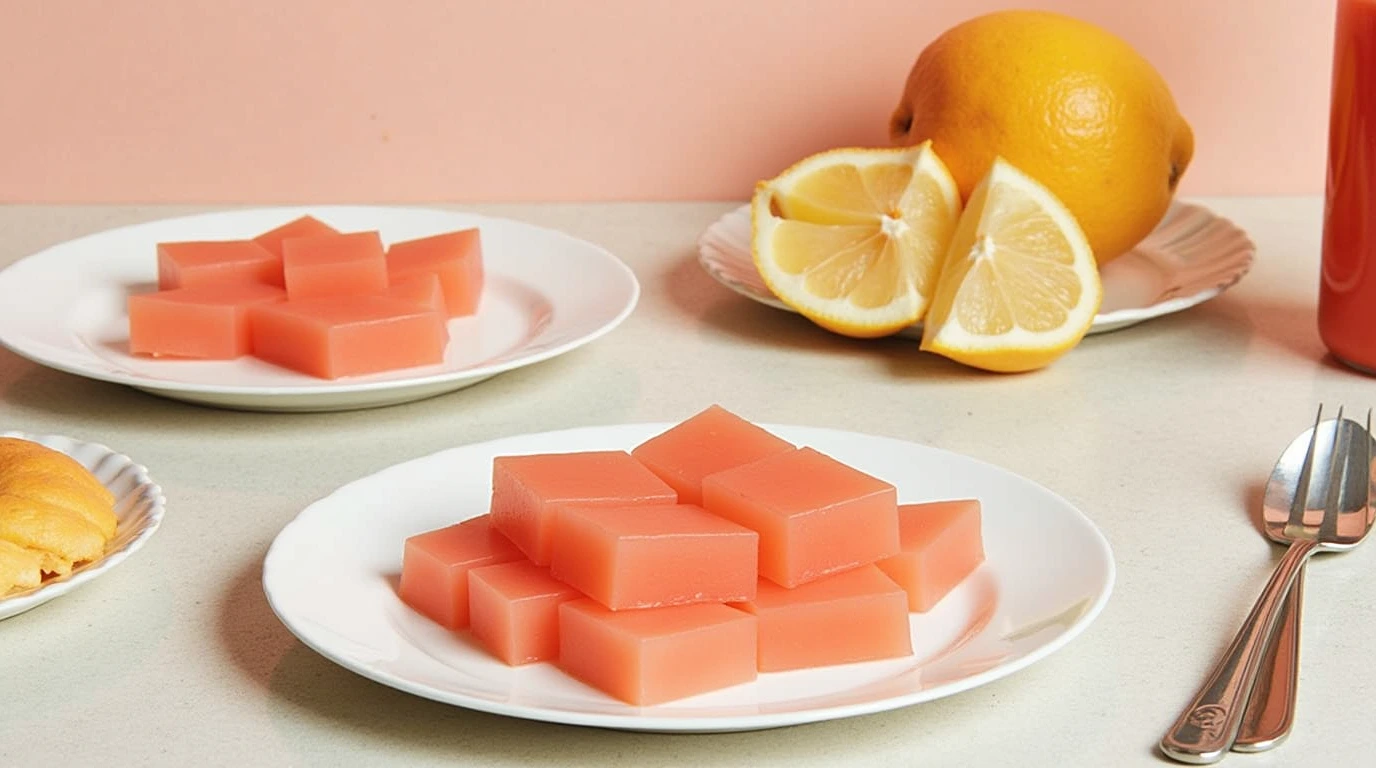
2-Ingredient Fruity Jelly Squares – A Simple, Refreshing Treat for All Ages
Sometimes, the most delightful treats are the simplest to make. Enter these 2-Ingredient Fruity Jelly Squares, a vibrant, no-fuss dessert that’s naturally gluten-free, low in fat, and bursting with tropical flavor. Made with just Fruitree Guava Nectar Blend and gelatine powder, these fruity bites are soft, chewy, and subtly sweet — perfect for snack time, party platters, or a light after-dinner indulgence.
Whether you’re a busy parent looking for an easy kid-friendly dessert, a beginner in the kitchen, or a health-conscious snacker seeking a sweet option with clean ingredients, this recipe is for you. It’s fuss-free, requires minimal equipment, and comes together in just over an hour, most of which is hands-off chilling time.
Why You’ll Fall in Love with This Recipe
-
Only 2 Ingredients – No added sugar, dyes, or preservatives.
-
Quick Prep Time – Takes just 10 minutes to assemble.
-
Great for Gifting or Meal Prep – Makes 64 neatly cut jelly bites.
-
Kid-Friendly and School Safe – No nuts, dairy, or gluten.
-
Customizable – Swap flavors, add fruit chunks, or layer colors for visual impact.
These jelly squares are also ideal for events like baby showers, birthday parties, school bake sales, or holiday entertaining. Serve them as-is for a clean, polished look or dress them up with edible glitter or coconut flakes for a festive twist.
Ingredients You’ll Need
Here’s the best part — you only need two things:
-
2 cups Fruitree Guava Nectar Blend
-
6 tablespoons gelatine powder
Kitchen Equipment Needed
To pull off this dessert seamlessly, gather the following basic tools:
-
Small saucepan or pot
-
Measuring cups and tablespoons
-
Whisk
-
20cm square baking dish (lightly greased)
-
Knife or dough cutter
-
Cutting board
-
Plastic wrap or airtight container (for storage)
Optional equipment for customizations:
-
Silicone molds (for shaped jellies)
-
Offset spatula (for leveling the jelly mixture)
How to Make 2-Ingredient Fruity Jelly Squares
Step 1: Bloom the Gelatine
Pour the Fruitree Guava Nectar Blend into a small pot. Sprinkle the gelatine powder evenly over the surface. Do not stir yet. Let it sit undisturbed for 10 minutes. This allows the gelatine to “bloom” — an essential step for a smooth, fully set jelly texture.
Step 2: Gently Heat and Whisk
After blooming, place the pot over low heat. Begin whisking slowly and consistently until the gelatine fully dissolves. This process takes around 2–3 minutes.
Step 3: Pour and Chill
Once the gelatine has dissolved, pour the mixture into a lightly greased 20cm square baking dish. Use an offset spatula or shake the pan gently to level the surface. Transfer the dish to the refrigerator for 1 hour, or until the jelly is completely firm to the touch.
Step 4: Cut into Perfect Squares
When set, run a butter knife around the edge of the dish. Carefully flip the jelly onto a clean cutting board. Using a sharp knife, slice the jelly into 64 equal squares — 8 rows by 8 columns.
Step 5: Serve and Enjoy
Arrange your jelly squares on a platter or in cupcake liners for presentation. Enjoy them chilled for a refreshing, fruity treat.
Flavor Variations & Fun Twists
This recipe is a blank canvas for creativity. Try these tasty variations:
Different Juice Options
-
Apple juice: Mild and kid-friendly.
-
Orange juice: Tangy and vitamin-rich.
-
Mango nectar: Intensely tropical and velvety.
-
Berry blends: Deep colors and antioxidant benefits.
Layered Jelly
Make one flavor first, let it set, then pour a second flavor over and chill again. Beautiful, eye-catching layers in every square!
Add-Ins
-
Fresh fruit: Add chopped berries, kiwi, or pineapple for texture.
-
Coconut flakes: Sprinkle on top before chilling for a tropical vibe.
-
Edible glitter: Great for party trays or holiday treats.
Storage Tips
To keep your jelly squares fresh:
-
Refrigerate in an airtight container for up to 5 days.
-
Do not freeze — freezing changes the texture of gelatine, making it rubbery and unpleasant.
If stacking, place parchment paper between layers to prevent sticking.
Food and Drink Pairings
These jelly squares pair well with a variety of light snacks and drinks:
-
Serve with:
-
A platter of cheese and crackers (for sweet-savory contrast)
-
Mini cupcakes or madeleines
-
Yogurt parfaits or fruit salad
-
-
Beverage pairings:
-
Sparkling water with lime
-
Herbal iced teas (like rooibos or chamomile)
-
Light white wine or rosé (for adults)
-
They also work great in lunchboxes, picnics, or as a post-gym snack.
Frequently Asked Questions (FAQ)
Can I use another brand of juice?
Absolutely. Any 100% juice or nectar will work. Just make sure it’s not too acidic (like pineapple) or too diluted with water, which can affect setting.
Can I use agar-agar instead of gelatine?
Yes, but the method changes slightly. Agar-agar must be boiled to activate. Use about 1 tbsp agar-agar powder per 2 cups of juice, and follow product-specific instructions.
Why didn’t my jelly set properly?
Several factors may be at play:
-
Gelatine wasn’t bloomed correctly.
-
Mixture was overheated (boiled).
-
Measurements were off (gelatine-to-liquid ratio matters).
Always double-check ratios and avoid boiling.
Are these suitable for vegetarians?
Not with standard gelatine. Use vegetarian gelatine alternatives like agar-agar or vege-gel to make this recipe plant-based.
Can I make these into fun shapes?
Yes! Pour the mixture into silicone molds for stars, hearts, or alphabet letters. Great for kids’ parties!
Who Should Try This Recipe
This recipe is ideal for:
-
Busy parents who want a healthier treat for their kids
-
College students looking for affordable, low-effort snacks
-
Party planners seeking no-mess finger food options
-
Health-conscious individuals aiming for low-sugar desserts
-
Beginner cooks who want a successful, confidence-boosting recipe
With only two ingredients and a short prep time, it’s accessible, fast, and yields a large batch with minimal clean-up.
Final Thoughts
2-Ingredient Fruity Jelly Squares are proof that simple can be sensational. With just guava nectar and gelatine, you can create a beautifully textured, refreshing treat that’s versatile, budget-friendly, and downright fun to make.
Whether you’re prepping ahead for a party or just need a healthier sweet to keep in the fridge, this recipe offers a delicious solution that’s free from artificial flavors, dyes, or excess sugar. The best part? You’ll always know exactly what’s in every bite.