5-Ingredient Tiramisu Bites: The Perfect No-Bake Treat for Coffee Lovers
If you’re craving a rich and creamy dessert that feels gourmet but takes minimal effort, look no further than these 5-Ingredient Tiramisu Bites. This elegant, bite-sized version of the beloved Italian classic packs all the indulgence of traditional tiramisu—creamy whipped layers, bold coffee flavor, and a touch of chocolate—without the need for complicated steps or ingredients.
Whether you’re a seasoned dessert enthusiast or a beginner looking to impress with minimal prep, this no-bake recipe is a winner. Made with just five pantry-friendly ingredients, it’s ideal for dinner parties, potlucks, or even a sweet pick-me-up with your afternoon coffee.
Let’s dive into how to make these luxurious bites and explore some helpful tips and variations along the way.
Why You’ll Love This Recipe
These 5-Ingredient Tiramisu Bites are perfect for:
-
Busy home cooks looking for a quick and easy dessert
-
Coffee lovers who can’t get enough of that rich espresso flavor
-
Hosts and hostesses wanting to impress guests without turning on the oven
-
Make-ahead planners, as this dessert sets beautifully in the fridge or freezer
With just a few simple steps and everyday ingredients, you’ll have a dessert that looks and tastes like it came from a boutique Italian café.
Ingredients You’ll Need
Here’s what goes into these no-fuss tiramisu bites:
-
1⅓ cup whipping cream, chilled – The base of your creamy filling. Make sure it’s very cold for best results.
-
½ cup (153g) NESTLÉ Full Cream Sweetened Condensed Milk – Adds sweetness and richness.
-
3 tbsp NESCAFÉ Classic Original – Brings that bold, authentic coffee flavor.
-
1½ packs (300g) ladyfinger biscuits – Also known as savoiardi, these soak up the coffee beautifully.
-
1 tbsp (6.25g) cocoa powder – For that classic dusted topping.
Kitchen Equipment Needed
You don’t need much to whip up these tiramisu bites. Here’s a quick checklist:
-
Electric hand mixer or stand mixer
-
Mixing bowls
-
Measuring cups and spoons
-
20cm square baking dish
-
Plastic wrap (if making the frozen version)
-
Sieve or fine mesh strainer (for dusting cocoa powder)
-
Rubber spatula
-
Spoon for smoothing layers
-
Sharp knife (for slicing into bites)
Step-by-Step Method
Step 1: Prepare the Dish
Lightly grease a 20cm square baking dish with non-stick cooking spray. For the frozen version, line it with plastic wrap, leaving overhang on the sides for easy removal.
Step 2: Whip the Cream
In a large bowl, whip the chilled cream using an electric mixer for 4–5 minutes until stiff peaks form. The colder the cream, the better it whips!
Step 3: Make the Coffee Cream
In a small bowl, mix 1 tablespoon of sweetened condensed milk with ½ tablespoon of NESCAFÉ Classic until well combined. Fold this mixture into the whipped cream along with the remaining condensed milk. Chill in the fridge until ready to use.
Step 4: Brew the Coffee Dip
Dissolve the remaining NESCAFÉ Classic in ½ cup of boiling water. Let it cool for 5 minutes.
Step 5: Layer the Tiramisu
Dip each ladyfinger into the cooled coffee for just 2–3 seconds—enough to soak without turning mushy. Line the base of your prepared dish with a single layer of dipped biscuits.
Spread half of the whipped mixture over the biscuit layer and smooth it out. Repeat the layers one more time: soaked ladyfingers followed by the rest of the cream.
Step 6: Dust and Chill
Using a sieve, dust cocoa powder evenly over the top.
-
For fridge tiramisu bites, refrigerate for 5 hours until firmly set.
-
For frozen tiramisu bites, freeze for 5 hours or overnight. Once frozen, let it sit at room temp for 2–3 minutes, then lift out using the plastic wrap.
Slice into 2cm x 4cm rectangles. Garnish with fresh mint leaves if desired.
Serving Suggestions
These tiramisu bites are best served with a fresh cup of NESCAFÉ Classic Original for the ultimate pairing. If you’re hosting, consider adding:
-
A scoop of vanilla gelato on the side
-
Chocolate-covered espresso beans as a crunchy garnish
-
A drizzle of coffee liqueur for an adult-only twist
How to Store Leftovers
If you’re lucky enough to have leftovers:
-
Fridge version: Store in an airtight container in the refrigerator for up to 3 days.
-
Frozen version: Keep in the freezer for up to 1 month. Wrap pieces individually for grab-and-go treats.
To serve from frozen, let thaw for 5–10 minutes for the perfect consistency.
Variations and Swaps
This recipe is delightfully adaptable! Try these customizations:
-
Dairy-free: Use coconut cream and a dairy-free sweetened condensed milk alternative.
-
Chocolate twist: Add mini chocolate chips between layers or a drizzle of melted chocolate on top.
-
Alcoholic version: Mix 1 tbsp of coffee liqueur (like Kahlúa) into the coffee soak for a boozy bite.
-
Holiday flair: Add a touch of cinnamon or nutmeg to the whipped cream for festive flavor.
FAQ: 5-Ingredient Tiramisu Bites
Q: Can I use espresso instead of NESCAFÉ Classic?
A: Absolutely! Brewed espresso works great and adds an intense flavor. Just let it cool before dipping.
Q: Can I use mascarpone in this recipe?
A: You can fold in a bit of mascarpone for a more traditional tiramisu feel, but it’s not necessary for this simplified version.
Q: My cream didn’t whip—what happened?
A: Make sure the cream is very cold. You can even chill the bowl and beaters for better results.
Q: Can I make these bites in advance?
A: Yes! These are perfect make-ahead desserts. Prepare a day before serving and keep chilled or frozen.
Q: Do I need to cook anything?
A: Not at all. This is a completely no-bake recipe, perfect for hot days or busy schedules.
Final Thoughts
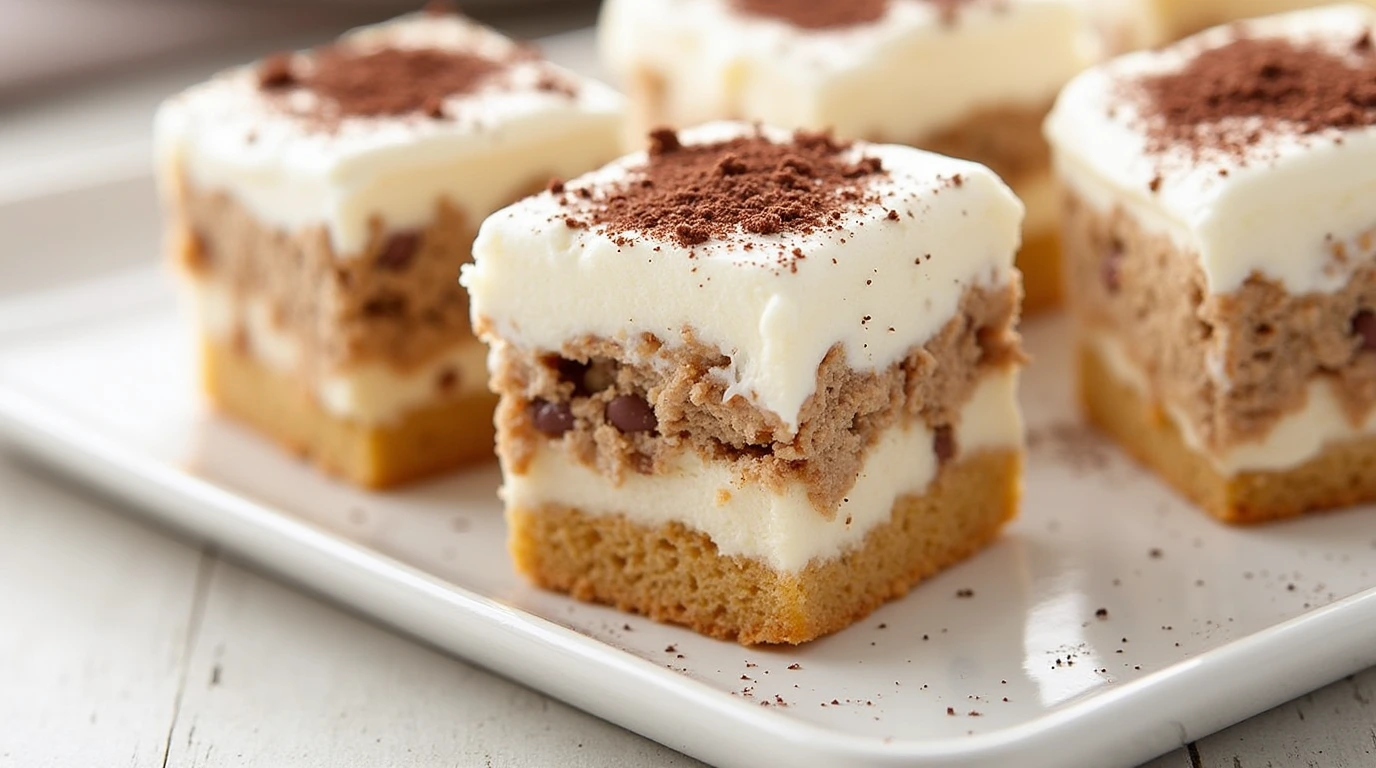
These 5-Ingredient Tiramisu Bites prove that you don’t need a long ingredient list or hours in the kitchen to create a stunning dessert. With layers of fluffy whipped cream, rich coffee-soaked biscuits, and a dusting of cocoa, every bite is a little moment of indulgence.
Perfect for parties, picnics, or cozy nights in, this recipe will quickly become a go-to in your dessert rotation.