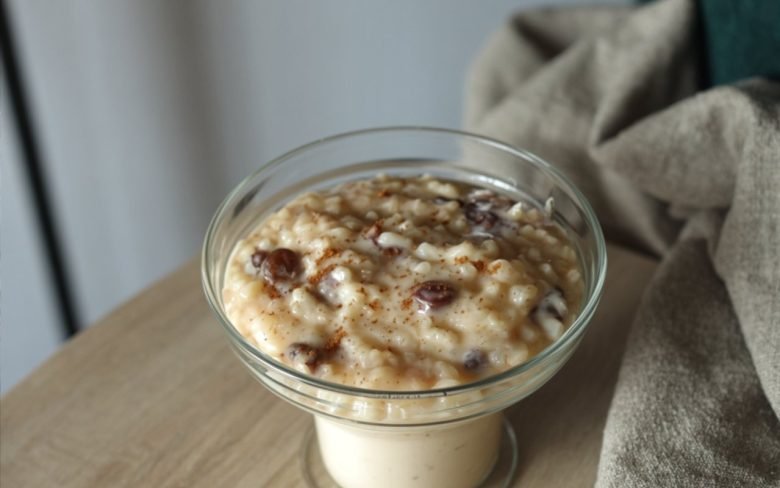
Is there any dessert more comforting than a warm bowl of rice pudding? It’s the kind of food that feels like a hug. But so many recipes are either watery, too sweet, or have a strange, grainy texture. If you’re searching for that nostalgic, truly perfect bowl, you’ve found it. This isn’t a dry, baked pudding, but a rich, stovetop-simmered dessert.
This is the Old-Fashioned Rice Pudding Recipe that tastes like it came straight from Grandma’s kitchen. The secret is simple: whole milk for creaminess, a slow simmer for tender rice, and a single egg yolk for a rich, custard-like finish. This is homemade comfort at its very best.
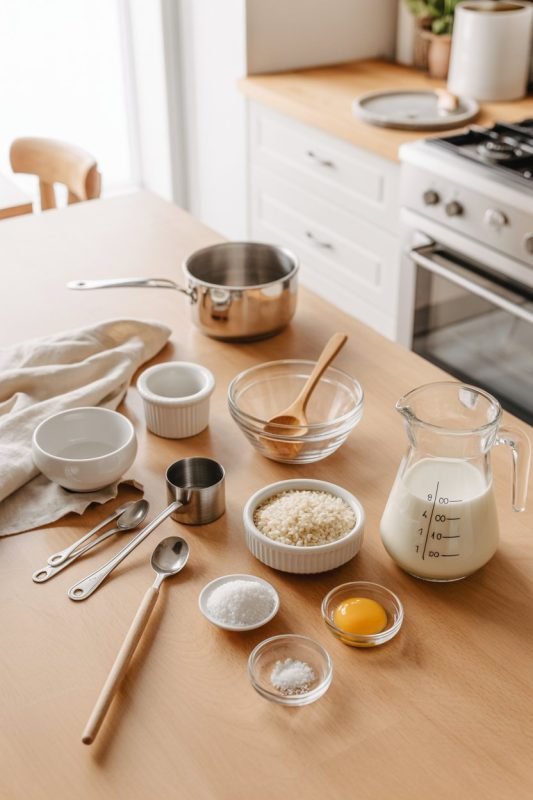
Ingredients for Rice Pudding
The magic of this recipe comes from simple, high-quality pantry staples. The type of rice you use will make a big difference—Arborio is our top pick for its incredible creaminess!
| Component | Ingredient | Amount/Quantity |
| Pudding Base | Arborio or medium-grain rice | 1/2 cup, uncooked |
| Creamy whole milk, divided | 4 cups (set 1/2 cup aside) | |
| Granulated sugar | 1/2 cup (100g) | |
| Salt | 1/4 teaspoon | |
| Custard | 1 large egg yolk | (This is the secret!) |
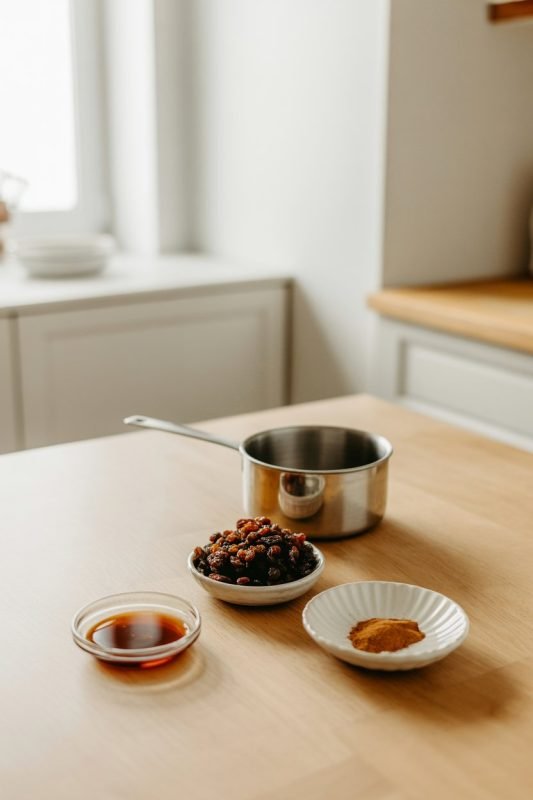
| Pure vanilla extract | 1 teaspoon | |
| Mix-in | Plump raisins | 1/2 cup (75g) |
| Garnish | Ground cinnamon | For dusting |
Recipe Timing
This recipe is simple, but it can’t be rushed. The slow simmer is what makes it so creamy and delicious.
- Prep time: 5 minutes
- Cook time: 40-45 minutes
- Total Time: 50 minutes (Less than an hour for the ultimate comfort food)
Step 1: Combine the Base Ingredients
In a medium, heavy-bottomed saucepan, combine the 1/2 cup of uncooked rice, 3 1/2 cups of the whole milk (keep the remaining 1/2 cup cold!), the sugar, and the salt. Using a heavy-bottomed pot is key to preventing the milk from scorching on the bottom.
Step 2: Simmer and Stir (The Patient Part)
Bring the mixture to a low simmer over medium heat, stirring gently. Once you see small bubbles, reduce the heat to low. Let it cook, uncovered, for 25-30 minutes.
Crucial Tip: You must stir this frequently, especially during the first 10 minutes, to keep the rice from clumping and to prevent the milk from scalding. This slow, patient simmer is what makes the rice tender and creamy.
Step 3: Plump the Raisins
After 25-30 minutes, the rice should be tender and the pudding will have thickened significantly. Stir in the 1/2 cup of raisins. Let them cook with the rice for another 5 minutes, which will make them plump and juicy.
Step 4: Temper the Egg Yolk (The Secret!)
This is the most important step for that “Grandma made it” richness. In a small, separate bowl, whisk the single egg yolk.
Slowly pour the remaining 1/2 cup of cold milk into the egg yolk, whisking constantly as you pour. This is called “tempering”—it gently warms the yolk so it won’t scramble when it hits the hot pudding.
Step 5: Create the Custard
While stirring the rice pudding constantly, slowly drizzle the tempered milk-yolk mixture into the saucepan.
Continue to cook on low, stirring the entire time, for another 2-3 minutes. You will feel the pudding thicken almost immediately into a beautiful, creamy, custard-like consistency.
Step 6: Finish with Vanilla and Serve
Remove the saucepan from the heat. Now, stir in the 1 teaspoon of vanilla extract. Pro Tip: Adding vanilla after the heat is off ensures its flavor stays bright and strong.
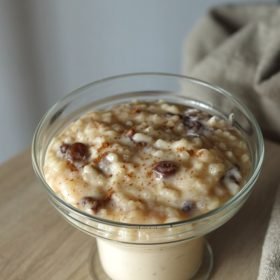
Pour the rice pudding into a serving bowl. Dust the top with a sprinkle of ground cinnamon. You can serve this heavenly pudding warm (as pictured) or chill it in the refrigerator for a few hours. Be aware it will thicken significantly as it cools!
Nutritional Information (Estimate)

This is a comforting, rich dessert. This estimate is based on 6 servings.
- Calories: 280 kcal
- Protein: 8 g
- Carbohydrates: 45 g
- Fat: 8 g (Saturated: 5 g)
- Sugar: 28 g
Healthier Alternatives & Variations
This classic recipe is a perfect canvas. Here are a few easy swaps:
- Dairy-Free / Vegan: Use full-fat canned coconut milk or a creamy barista-style oat milk instead of whole milk. Instead of the egg yolk, mix 1 tablespoon of cornstarch with 2 tablespoons of the cold milk alternative and add it at Step 5.
- Lower-Sugar: You can easily reduce the sugar to 1/3 cup, or use a 1-to-1 baking substitute like monk fruit or erythritol.
- Extra-Rich: For pure decadence, replace 1 cup of the whole milk with 1 cup of heavy cream.
- Different Spices: Not a fan of cinnamon? Try a sprinkle of ground nutmeg or cardamom instead.
Serving Suggestions

The best part of rice pudding is deciding how to eat it. It’s a dessert of two personalities!
- Serve it WARM: This is pure comfort. Serve it in a cozy bowl right after making it, with that dusting of cinnamon on top. Some people (like my grandpa!) love to add a small pat of butter that melts into the top.
- Serve it COLD: When chilled, this pudding becomes incredibly thick and dense, almost like a sliceable custard. It’s a refreshing treat on a warmer day.
- Extra Toppings: While cinnamon is classic, try it with a small dollop of whipped cream, a spoonful of jam, or a sprinkle of toasted nuts.
Common Mistakes to Avoid
- Scalded Milk: This happens when the heat is too high and you’re not stirring.
- Solution: Use a heavy-bottomed pot, keep the heat on low, and stir often. Scraped, browned bits from the bottom will ruin the flavor.
- Scrambled Eggs in Your Pudding: This is the #1 mistake. It happens when you add the egg yolk directly to the hot pot.
- Solution: You must temper the yolk as described in Step 4. Whisking the yolk with the cold milk first is the only way to guarantee a smooth, creamy custard.
- Watery Pudding: This can happen if you don’t simmer it long enough or if you use low-fat milk.
- Solution: Be patient and let it simmer until thick (Step 2). Whole milk is essential for that old-fashioned creaminess. 2% or skim milk just won’t be the same.
- Clumpy Rice: If you just dump the rice in and walk away, it will settle and cook into a single giant clump.
- Solution: Stir, stir, stir, especially in the first 10 minutes of cooking. This separates the grains and helps them release their starches, which thickens the pudding.
Storing Tips
- To Store: This pudding contains milk and egg, so it must be refrigerated. Let it cool slightly, then transfer to an airtight container. It will last in the fridge for up to 4 days.
- Texture Change: Be prepared—the pudding will thicken dramatically once it’s cold, becoming much denser than when it was warm.
- To Reheat: You can absolutely eat it cold (it’s delicious!). To serve warm, scoop a portion into a microwave-safe bowl and heat it in 30-second intervals, stirring in between. You may want to add a splash of milk before reheating to loosen it up and restore its creaminess.
- To Freeze: We do not recommend freezing rice pudding. The freezing and thawing process ruins the delicate custard, making the texture watery and grainy.
Conclusion
This Old-Fashioned Rice Pudding Recipe is more than just a dessert; it’s a bowl of pure nostalgia. That combination of tender rice, sweet plump raisins, and a warm, vanilla-kissed custard is timeless for a reason. It’s a simple, humble, and incredibly satisfying treat that will warm you from the inside out.
We hope you enjoy making and savoring this dish as much as we do. Try it out and let us know in the comments how it turned out for you! Did it remind you of your grandma’s? We’d love to hear your feedback. Don’t forget to rate the recipe and subscribe to our blog for more delicious, comforting recipes!
FAQs (Frequently Asked Questions)
Q1. What is the best rice to use for rice pudding?
For the absolute creamiest pudding, you want a high-starch, short- or medium-grain rice. Arborio rice (the kind used for risotto) is our top choice because it releases its starches into the milk, creating its own creamy sauce. Regular medium-grain white rice also works very well. You can use long-grain white rice, but the pudding may be slightly less creamy.
Q2. Can I use a different kind of milk?
Yes, but the creaminess will change. Whole milk is strongly recommended for that “old-fashioned” flavor. You can use 2% milk, but it will be less rich. For a dairy-free version, canned full-fat coconut milk or a creamy oat milk will give the best results.
Q3. Do I really need the egg yolk?
For a true, rich, custard-style pudding, yes. The egg yolk is the secret ingredient that takes it from “sweet rice and milk” to “creamy pudding.” If you have an egg allergy, you can omit it. The pudding will be thinner, but still tasty. Alternatively, you can mix 1 tablespoon of cornstarch with the 1/2 cup of cold milk and add that at Step 5 to thicken it.
Q4. Can I make this without raisins?
Absolutely! If you are not a raisin fan, simply leave them out. The recipe will be just as delicious. You could also substitute other dried fruits, like chopped dried apricots or cranberries, and add them at the same step.
Grandma’s Old-Fashioned Rice Pudding Recipe (Simple & Creamy)
Equipment
- Medium heavy-bottomed saucepan
- Wooden spoon or heatproof spatula
- Whisk
Ingredients
Pudding Base
- 1/2 cup Arborio or medium-grain rice uncooked
- 3 1/2 cups whole milk reserve remaining 1/2 cup cold for tempering
- 1/2 cup granulated sugar
- 1/4 tsp salt
Custard
- 1 large egg yolk tempered
- 1/2 cup whole milk cold, for tempering with the yolk
- 1 tsp vanilla extract add off heat
Mix-in
- 1/2 cup raisins plump in the hot pudding
Garnish
- ground cinnamon for dusting
Instructions
- Combine the Base: In a medium, heavy-bottomed saucepan, add 1/2 cup uncooked rice, 3 1/2 cups whole milk (reserve the remaining 1/2 cup cold), 1/2 cup sugar, and 1/4 tsp salt.
- Simmer & Stir: Bring to a gentle simmer over medium heat, stirring frequently. Once small bubbles appear, reduce heat to low and cook uncovered for 25–30 minutes, stirring often—especially during the first 10 minutes—to prevent scorching and clumping.
- Add Raisins: When the rice is tender and the mixture has thickened, stir in 1/2 cup raisins and cook 5 minutes more to plump.
- Temper the Yolk: In a small bowl, whisk 1 egg yolk. Slowly whisk in the reserved 1/2 cup cold milk to temper.
- Create the Custard: While stirring the pudding constantly over low heat, slowly drizzle in the tempered yolk mixture. Cook 2–3 minutes more, stirring, until luxuriously creamy.
- Finish & Serve: Remove from heat and stir in 1 tsp vanilla. Spoon into bowls and dust with cinnamon. Serve warm, or chill to thicken further.