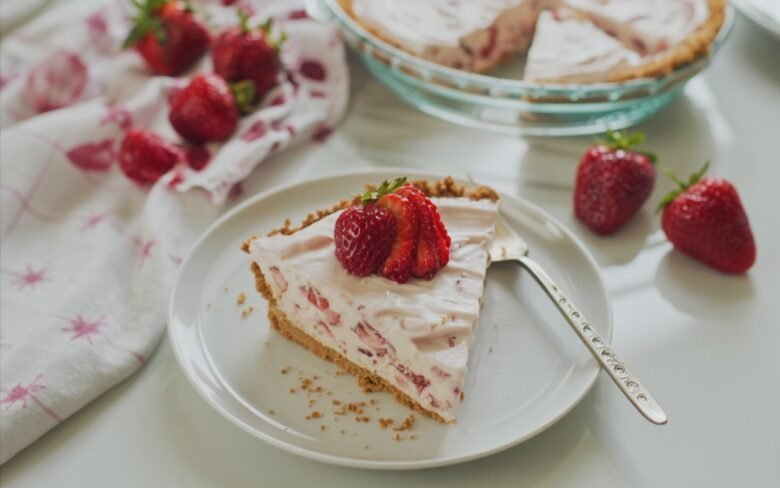
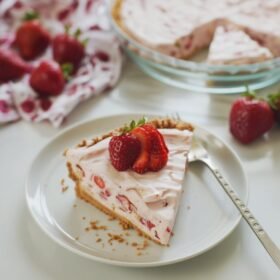
Have you noticed how the most memorable desserts often have one thing in common—they feel effortless, even when they look bakery-worthy? That’s exactly why this No-Bake Strawberry Cream Pie is such a keeper. With a buttery graham cracker crust and a fluffy, berry-swirled filling, it delivers that creamy, dreamy “wow” moment—without spending your day in the kitchen.
This recipe also flips a common belief: that no-bake pies are too soft or not sliceable. The trick is a condensed milk + whipped cream base that sets beautifully in the freezer, giving you clean slices and a silky texture. If you need a crowd-pleasing dessert for warm weather, holidays, or last-minute hosting, this is the kind of pie you’ll come back to again and again.
Ingredients

| Ingredient | Amount / Quantity |
|---|---|
| Graham crackers (for a crunchy, buttery crust) | 8 oz |
| Butter, melted (for binding the crumbs) | 5 Tbsp |
| Sweetened condensed milk (creates a creamy, stable filling) | 2/3 cup |
| Strawberry jam, seedless preferred (smooth, fruity swirl) | 1/2 cup |
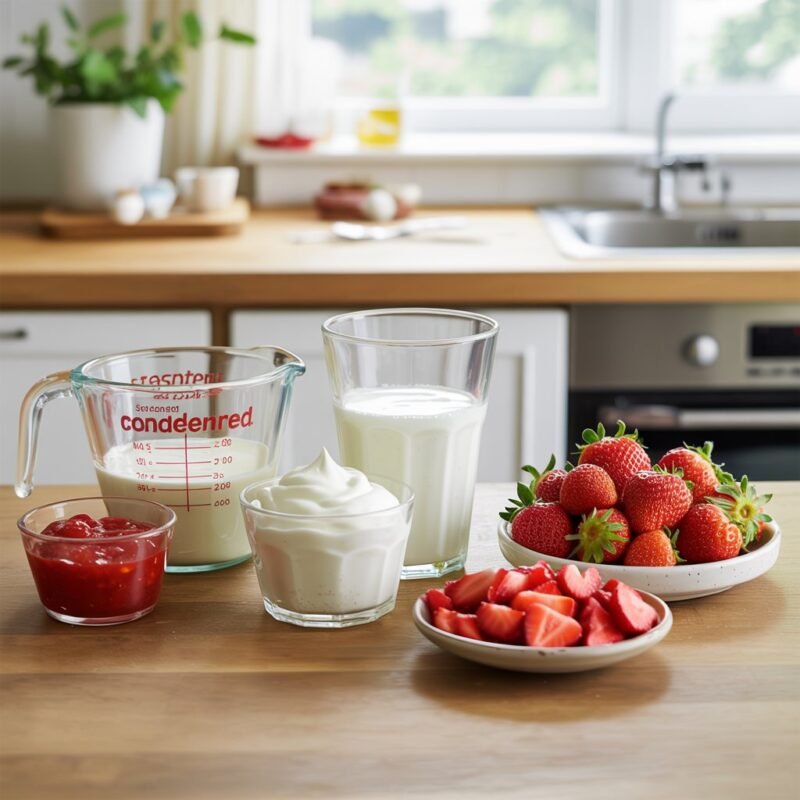
| Heavy / whipping cream, well-chilled (for fluffy volume) | 1 1/2 cups |
| Strawberries, chopped (fresh or frozen, thawed if frozen) | 6 oz |
| Extra strawberries and/or whipped cream (optional garnish) | As needed |
Timing
- Prep Time: 20 minutes
- Bake Time: 10 minutes (for the crust)
- Freeze Time: 4 hours minimum (up to 4 days)
- Thaw Time Before Serving: 30 minutes at room temp or 6–8 hours in the fridge
- Total Active Time: ~30 minutes
Most of the “work” is hands-off chilling—about as low-effort as a dessert can get.
Step-by-Step Instructions
Step 1: Preheat the Oven
Preheat your oven to 350°F (175°C).
Tip: Even though this is a no-bake pie filling, baking the crust briefly helps it hold together and adds a deeper toasted flavor.
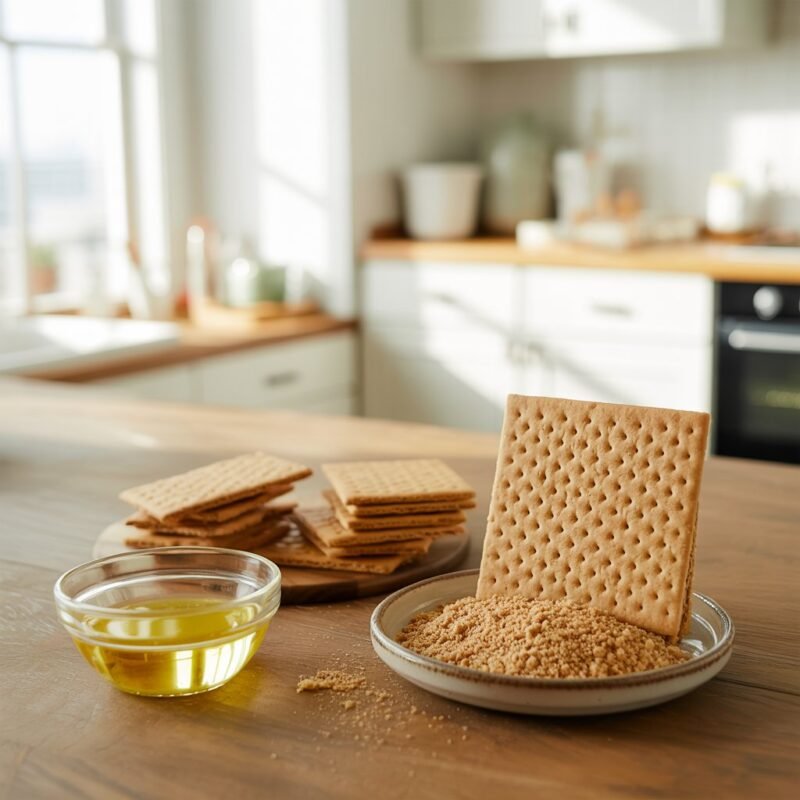
Step 2: Make the Graham Cracker Crust
Pulse the graham crackers and melted butter until the mixture is finely ground and looks like damp sand. Press firmly into the bottom (and slightly up the sides) of a pie dish.
Tip: Use the bottom of a measuring cup to pack the crust tightly—this is the #1 trick for a crust that slices cleanly.
Step 3: Bake and Cool the Crust
Bake the crust for 10 minutes, then let it cool completely.
Tip: Don’t rush the cooling. If the crust is warm, it can melt the filling and prevent it from setting properly.
Step 4: Mix the Strawberry Base
In a small bowl, whisk together the sweetened condensed milk and strawberry jam until smooth. Set aside.
Tip: Seedless jam makes the filling extra silky, but any jam works if you love a bit of texture.
Step 5: Whip the Cream to Stiff Peaks
Beat the cold heavy cream in a stand mixer or with a handheld mixer on high until it forms stiff peaks, about 3–4 minutes.
Tip: Start with a cold bowl if you can—cold equipment helps the cream whip faster and hold its structure.
Step 6: Fold in the Flavor (Keep It Airy!)
Gently fold the condensed milk/jam mixture and chopped strawberries into the whipped cream. Don’t worry if it isn’t perfectly blended—those beautiful strawberry streaks create a naturally marbled look.
Tip: Use a folding motion (down, across, and up) to keep the filling light and fluffy instead of dense.
Step 7: Fill the Crust and Smooth the Top
Pour the filling into the cooled crust and smooth the top with a spatula.
Tip: For a prettier finish, leave a few strawberry swirls visible on top—people eat with their eyes first!
Step 8: Freeze Until Set
Freeze the pie until firm, at least 4 hours (and up to 4 days).
Tip: Cover the pie once the top feels set (about 1–2 hours in), so you don’t trap condensation on the surface.
Step 9: Thaw and Serve
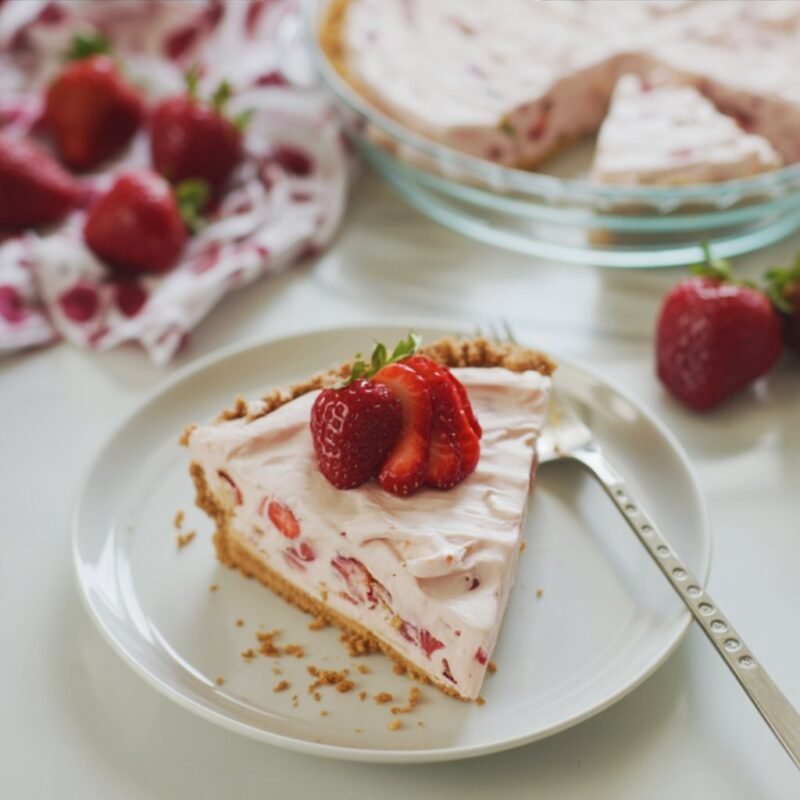
Before serving, let the pie thaw for 30 minutes at room temperature or 6–8 hours in the fridge. Slice, garnish with extra strawberries and/or whipped cream, and enjoy.
Tip: Run your knife under warm water and wipe it dry between cuts for the cleanest slices.
Nutritional Information (Per Serving)
Estimated values will vary by brand and slice size. Based on 8 slices.
| Nutrient | Approx. Amount |
|---|---|
| Calories | 380 kcal |
| Protein | 5 g |
| Carbohydrates | 44 g (Sugar: ~30 g) |
| Fat | 22 g (Saturated: ~13 g) |
| Fiber | 1 g |
| Sodium | 230 mg |
Nutrition note: Strawberries contribute vitamin C and antioxidants, while the whipped cream base makes this dessert rich—perfect for smaller slices that still feel satisfying.
Healthier Alternatives
Want a lighter version without losing that creamy, strawberry-forward flavor? Try these swaps:
- Swap: Use light sweetened condensed milk to reduce calories while keeping the filling stable and sweet.
- Swap: Replace half the whipped cream with Greek yogurt (fold it in gently). It adds protein and a tangy “cheesecake-like” vibe.
- Lower Sugar: Use reduced-sugar strawberry jam and top with extra fresh strawberries for natural sweetness.
- Gluten-Free: Use gluten-free graham crackers for the crust—everything else is naturally gluten-free.
- Dairy-Free (creative option): Use coconut condensed milk + chilled coconut cream whipped to peaks. The result is tropical and still sliceable.
Serving Suggestions

This pie shines when served cold and fresh. For a “dessert table” look, garnish with:
- Extra strawberries piled in the center
- A soft cloud of whipped cream
- A few crushed graham cracker crumbs for texture
Pair it with iced tea, lemonade, or even a fruity mocktail for a bright contrast to the creamy filling. It’s perfect for spring gatherings, summer BBQs, baby showers, or anytime you need a pretty dessert that doesn’t require complicated steps.
If you love no-fuss desserts, you might also enjoy our No-Bake Chocolate Peanut Butter Bars or Classic Chocolate Chip Cookies for another easy crowd-pleaser.
Common Mistakes to Avoid
- Not cooling the crust completely: Warm crust can melt the filling. Solution: Cool fully before adding the filling.
- Under-whipping the cream: Soft peaks won’t set well. Solution: Beat to stiff peaks so the pie slices cleanly.
- Overmixing the filling: It can deflate the whipped cream. Solution: Fold gently and stop once combined.
- Skipping enough freeze time: The pie needs time to firm up. Solution: Freeze at least 4 hours (overnight is ideal).
- Serving straight from the freezer: Too hard to slice. Solution: Thaw 30 minutes at room temp.
Storing Tips
- Freezer: Store tightly covered for up to 4 days (or up to 2 weeks for best texture).
- Fridge: After thawing, keep leftovers in the fridge and enjoy within 2–3 days.
Best reheating method: None needed—this is a chilled dessert. If the pie gets too soft, pop slices back in the freezer for 10–15 minutes to firm up.
Make-ahead tip: This is an ideal make-ahead pie. Make it 1–2 days early and thaw in the fridge the night before serving.
Conclusion
This No-Bake Strawberry Cream Pie is the kind of dessert that earns “recipe request” status fast. You get a buttery graham cracker crust, a fluffy cream filling, and sweet strawberry swirls—all with simple ingredients and minimal effort. The freezer does the hard work, leaving you with a sliceable, creamy pie that tastes like summer and looks stunning on the table.
If you try it, leave a comment and tell us how you served it—extra strawberries, whipped cream, or maybe a drizzle of chocolate? Don’t forget to rate the recipe and subscribe for more easy, crowd-pleasing desserts you can make with confidence.
FAQs
Q1. Can I use frozen strawberries instead of fresh?
Yes! Thaw them first, then chop. Tip: Pat them dry with a paper towel to avoid adding extra water that can soften the filling.
Q2. Do I have to bake the crust?
Baking helps the crust hold together and adds toasty flavor, but you can skip it. If skipping, chill the crust for 30 minutes before filling and press it extra firmly.
Q3. Why didn’t my pie set?
Most often it’s because the cream wasn’t whipped to stiff peaks or the pie didn’t freeze long enough. Whip the cream until it holds firm peaks and freeze at least 4 hours.
Q4. Can I make this in advance?
Absolutely. Freeze it up to 4 days ahead. Thaw in the fridge overnight (6–8 hours) for the easiest slicing.
Q5. What can I use instead of strawberry jam?
Raspberry jam, mixed berry jam, or even lemon curd work beautifully. Keep the same amount and fold gently for that marbled look.
No-Bake Strawberry Cream Pie (Easy Summer Dessert)
Equipment
- 9-Inch Pie Dish
- Food processor (or rolling pin & bag)
- Mixing bowls
- Stand/hand mixer
- Rubber spatula
- Measuring cups and spoons
Ingredients
Graham Cracker Crust
- 8 oz graham crackers crushed to fine crumbs
- 5 tbsp unsalted butter melted
Strawberry Cream Filling
- 2/3 cup sweetened condensed milk creates a creamy, stable set
- 1/2 cup strawberry jam (seedless preferred) smooth fruity swirl
- 1 1/2 cups heavy/whipping cream well‑chilled; whip to stiff peaks
- 6 oz strawberries, chopped fresh or thawed if frozen
To Serve (Optional)
- extra strawberries and/or whipped cream for garnish
Instructions
- Preheat: Heat oven to 350°F (175°C).
- Make Crust: Pulse graham crackers with melted butter until the texture resembles damp sand. Press firmly into a 9‑inch pie dish, slightly up the sides.
- Bake & Cool: Bake 10 minutes; cool completely. (A brief bake helps the crust slice cleanly and hold together.)
- Strawberry Base: In a small bowl whisk condensed milk and strawberry jam until smooth.
- Whip Cream: Beat cold heavy cream to stiff peaks (3–4 minutes).
- Fold: Gently fold the condensed milk–jam mixture and chopped strawberries into the whipped cream, leaving a few strawberry streaks for a marbled look.
- Fill & Smooth: Spread filling into the cooled crust; smooth the top.
- Freeze to Set: Freeze until firm, at least 4 hours (up to 4 days). Cover once surface is set (after 1–2 hours) to avoid condensation.
- Thaw & Serve: Thaw 30 minutes at room temperature or 6–8 hours in the fridge before slicing. Garnish with extra strawberries/whipped cream. Warm, dry knife for the cleanest cuts.