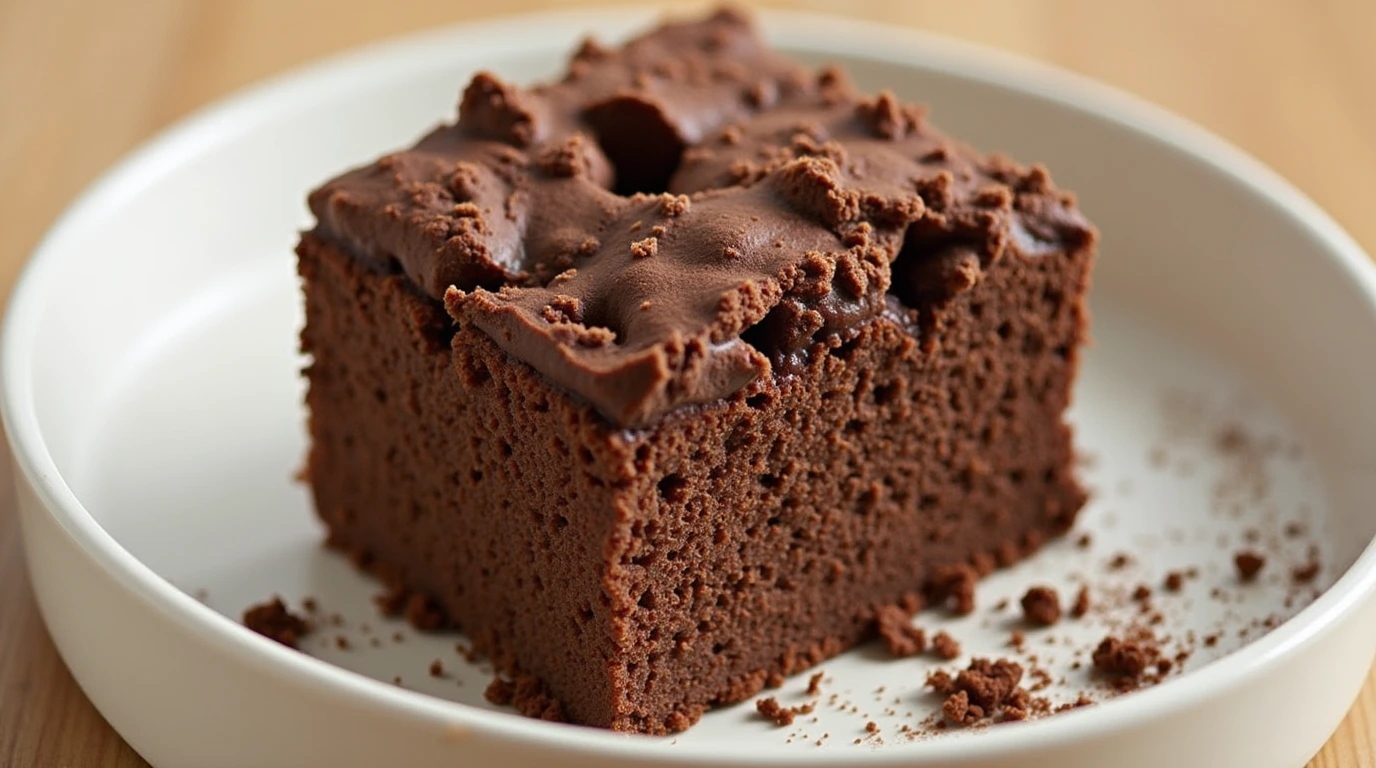
Chocolate Milk Sponge Cake: A Decadent Treat for Every Occasion
If you’re a dessert enthusiast or a home baker looking for a chocolate cake that’s rich, creamy, and indulgent, this Chocolate Milk Sponge Cake will absolutely wow your taste buds. With layers of soft, airy sponge soaked in a velvety chocolate milk mixture and topped with a luscious cocoa whipped cream, this cake is the perfect marriage between comfort and elegance. Whether you’re hosting a celebration, treating your family, or indulging your sweet tooth, this cake promises to impress.
Why This Chocolate Milk Sponge Cake Works
This recipe is ideal for bakers of all skill levels, from beginner to seasoned pro. It’s fuss-free yet delivers a bakery-quality result. What makes it stand out is the use of Nestlé KLIM Full Cream Instant Milk Powder and Nestlé Full Cream Sweetened Condensed Milk to create a decadent milk soak that transforms a simple sponge into a melt-in-your-mouth experience.
If you’re someone who loves moist cakes with bold chocolate flavor and creamy finishes, this cake checks all the boxes. It’s also a crowd-pleaser for kids and adults alike, thanks to its soft texture and balanced sweetness.
Ingredients You’ll Need
Here’s what you need to make this luxurious chocolate milk sponge cake:
-
½ cup (65g) Nestlé KLIM Full Cream Instant Milk Powder
-
1 cup (125g) cake flour
-
¾ cup (80g) Nestlé Cocoa Fat Reduced Cocoa Powder
-
1 tbsp baking powder
-
4 large eggs, at room temperature
-
1 cup (200g) brown sugar
-
1 tin (385g) Nestlé Full Cream Sweetened Condensed Milk
-
1 cup (240g) whipping cream, cold
These ingredients come together to create layers of texture and flavor that are both satisfying and memorable.
Equipment You’ll Need
Before diving in, make sure your kitchen is equipped with:
-
Mixing bowls (medium and large)
-
Measuring cups and spoons
-
Electric mixer or hand whisk
-
Whisk
-
Rubber spatula
-
20cm baking dish
-
Sieve (optional, for flour and cocoa powder)
-
Fork (for poking the cake)
-
Jug or pitcher (for the milk soak)
-
Cooling rack
-
Offset spatula (for spreading the cream)
Step-by-Step Method
Step 1: Prepare the Milk Base
Preheat your oven to 180°C (350°F) and grease a 20cm baking dish. Dissolve ½ cup Nestlé KLIM Full Cream Instant Milk Powder in 3 cups of hot water. Whisk well and set aside. This will serve as the base for both the batter and the decadent milk soak.
Step 2: Mix the Dry Ingredients
In a medium bowl, sift and whisk together:
-
1 cup cake flour
-
½ cup Nestlé Cocoa Fat Reduced Cocoa Powder
-
1 tbsp baking powder
Step 3: Create the Sponge Base
In a large bowl, beat 4 large eggs and 1 cup brown sugar for about 5 minutes until light and fluffy. Add ½ cup of your prepared milk mixture and mix gently. Fold in your dry ingredients until just combined. Avoid overmixing to maintain the cake’s light texture.
Step 4: Bake the Sponge
Pour the batter into your prepared dish and bake for 50–60 minutes. Ovens vary, so test with a toothpick — it should come out clean from the center.
Step 5: Prepare the Chocolate Milk Soak
In a jug, whisk together:
-
1 tin of Nestlé Full Cream Sweetened Condensed Milk
-
2½ cups of your prepared milk mixture
-
2 tbsp Nestlé Cocoa Fat Reduced Cocoa Powder
Once your cake has cooled, use a fork to poke holes all over. Slowly pour the milk soak over the entire cake, letting it absorb evenly. Refrigerate for at least 2 hours (or overnight for a deeper infusion).
Step 6: Make the Cocoa Whipped Cream
In a large bowl, whip 1 cup cold whipping cream until soft peaks form. Add 2 tbsp Nestlé Cocoa Fat Reduced Cocoa Powder and continue whipping until stiff peaks form.
Step 7: Finish and Serve
Spread the whipped cocoa cream evenly over the soaked sponge. Garnish with a dusting of cocoa powder. Slice into generous squares and serve chilled.
Tips and Tricks for Perfect Results
-
Don’t skip the soak: Letting the cake rest overnight in the fridge enhances both flavor and texture.
-
Use room temperature eggs: This helps achieve maximum volume when beating with sugar.
-
Whip the cream just right: Stop at stiff peaks to avoid curdling.
-
Dust last: Add cocoa powder garnish just before serving for the freshest look.
-
Make ahead: This cake is even better the next day, making it ideal for entertaining.
Variations and Swaps
Want to make it your own? Here are some delicious ways to switch it up:
-
Add coffee: Swap ½ cup of the milk mixture with strong brewed coffee for a mocha twist.
-
Add a crunch: Sprinkle crushed chocolate cookies or nuts on top for added texture.
-
Frost with ganache: Swap whipped cream topping with a chocolate ganache for extra decadence.
-
Flavor the cream: Add a hint of vanilla or peppermint extract to the whipped cream for flavor variations.
How to Store Leftovers
This cake stores beautifully!
-
Refrigerator: Store in an airtight container for up to 5 days.
-
Freezer: Slice into squares and wrap individually in plastic wrap. Freeze for up to 1 month. Thaw in the fridge before serving.
-
Avoid sogginess: Keep it covered tightly to preserve its creamy texture without absorbing fridge odors.
Food & Drink Pairings
-
Hot drinks: This cake pairs wonderfully with coffee, hot chocolate, or a strong Earl Grey tea.
-
Cold drinks: Try serving it with a vanilla milkshake, iced coffee, or even cold milk for an old-school treat.
-
Fruit: Fresh raspberries, strawberries, or even bananas complement the chocolate richness beautifully.
Frequently Asked Questions (FAQ)
Can I make this cake gluten-free?
Yes! Simply swap out the cake flour with a gluten-free 1:1 baking flour blend. Make sure your baking powder is gluten-free too.
What if I don’t have KLIM Milk Powder?
You can substitute with any full cream milk powder, but note that KLIM has a distinct creamy richness.
Can I use regular cocoa powder?
Yes, but Nestlé Cocoa Fat Reduced Cocoa Powder offers a balanced chocolate flavor with less fat. Regular cocoa will still work well.
Can I use a different size baking pan?
You can use a 9×9 inch square pan or 8-inch round pan, but adjust the baking time accordingly and test with a toothpick for doneness.
How do I know when the sponge is baked?
Insert a toothpick into the center. If it comes out clean or with a few moist crumbs, it’s ready. Avoid overbaking, or the cake may become dry.
Final Thoughts
This Chocolate Milk Sponge Cake is more than just a dessert — it’s a showstopper, a conversation starter, and a comfort treat all in one. With every bite, you’ll get the luscious fusion of soft sponge, creamy milk chocolate soak, and fluffy cocoa cream topping. It’s as beautiful to look at as it is delicious to eat.