Creamy Dream Banana Pudding: A Southern Classic with a Silky Twist
There’s something about a well-made banana pudding that stirs up memories of warm Southern afternoons, family gatherings, and irresistible comfort food. This no-bake Banana Pudding recipe is a decadent dessert that layers silky vanilla pudding with fluffy whipped cream, buttery vanilla wafers, and perfectly ripe banana slices. Whether you’re serving it at a summer barbecue, a holiday party, or just indulging your sweet tooth on a quiet night in, this recipe is a guaranteed crowd-pleaser.
If you’re someone who loves quick, delicious desserts with a nostalgic twist, this banana pudding is for you. It’s approachable for beginners, with a prep time of just 20 minutes and zero baking required. But don’t let the ease fool you—this version is elegant enough to earn a spot on any gourmet dessert table. Let’s dive into the ingredients, step-by-step instructions, helpful tips, and everything else you need to perfect this creamy treat.
Why This Banana Pudding Recipe is Perfect for Everyone
This banana pudding is ideal for:
-
Busy home cooks who want a dessert that looks impressive but requires minimal effort.
-
Dessert lovers seeking that perfect combination of creamy, crunchy, and fruity.
-
Families looking to make sweet memories together in the kitchen.
-
Entertainers in need of a reliable make-ahead dessert.
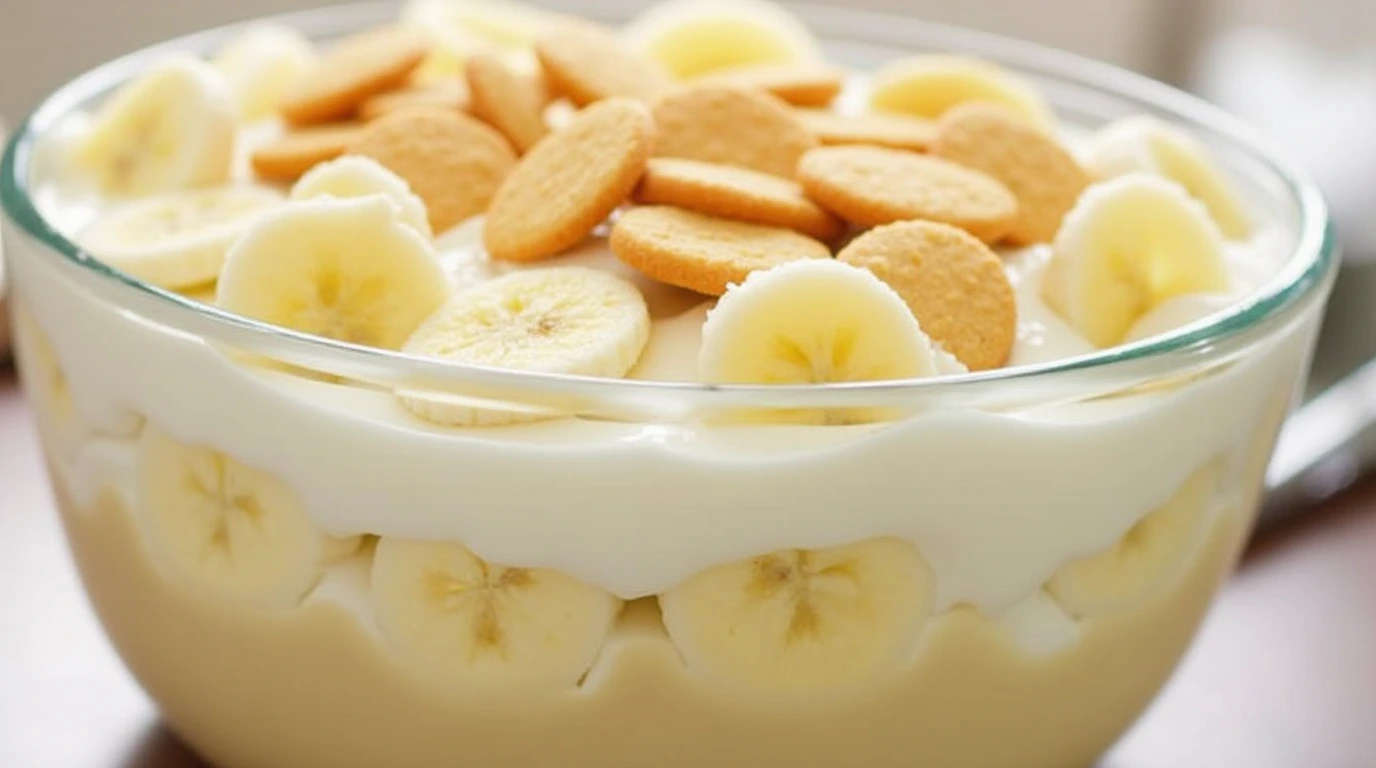
What makes this recipe so special is its balance: the richness of whipped cream and pudding is brightened by the fresh bananas, while the cookies add a delightful crunch. The flavor is nostalgic yet elevated thanks to homemade whipped cream rather than pre-made toppings. Plus, the layering creates a beautiful trifle presentation that looks as good as it tastes.
Ingredients You’ll Need
-
1 (14-oz.) can sweetened condensed milk
-
1 1/3 cups whole milk
-
1 (5.1-oz.) package instant vanilla pudding mix
-
3 cups heavy cream
-
1 tsp. pure vanilla extract
-
1 (12-oz.) box vanilla wafer cookies
-
4 bananas, sliced into coins
-
2 tsp. granulated sugar
Kitchen Equipment Required
Before you begin, make sure you have the following tools on hand:
-
Large mixing bowls (x2)
-
Whisk
-
Handheld electric mixer
-
Rubber spatula
-
3-quart trifle dish or glass bowl
-
Measuring cups and spoons
-
Plastic wrap or airtight cover for refrigeration
-
Knife and cutting board
Step-by-Step Directions
Step 1: Prepare the Pudding Base
In a large bowl, whisk together the sweetened condensed milk, whole milk, and instant vanilla pudding mix until smooth and free of lumps. Place the bowl in the refrigerator for about 5 minutes to allow the pudding to set slightly.
Step 2: Make Whipped Cream
In another large bowl, beat the heavy cream and vanilla extract with a handheld mixer on medium-high speed until stiff peaks form. This will take about 2 to 3 minutes. Reserve half of the whipped cream for the topping. Fold the remaining whipped cream gently into the pudding mixture to create a light and airy texture.
Step 3: Layer the Dessert
Begin assembling the pudding in a trifle dish. Start with a layer of vanilla wafers, followed by one-third of the pudding mixture, another layer of wafers, and then a layer of banana slices. Repeat the layers until you reach the top of the dish, finishing with a final layer of pudding. Reserve a handful of wafers for the final topping.
Step 4: Chill and Set
Cover the trifle with plastic wrap and refrigerate for at least 3 hours or, ideally, overnight. This allows the cookies to soften slightly and the flavors to meld together beautifully.
Step 5: Final Touches
Just before serving, stir the granulated sugar into the reserved whipped cream and dollop it on top of the pudding. Crumble the reserved vanilla wafers and sprinkle them over the whipped cream for a delightful crunch.
Tips & Tricks for the Best Banana Pudding
-
Choose ripe, firm bananas: Overripe bananas can turn mushy, while underripe ones lack sweetness. Aim for bananas with a bright yellow peel and minimal brown spots.
-
Avoid browning bananas: To keep banana slices from browning, dip them quickly in a bit of lemon juice before layering.
-
Make it ahead: This pudding tastes even better after a night in the fridge, so it’s perfect for prepping a day before your event.
-
Texture matters: For a crunchier bite, add some of the vanilla wafers just before serving rather than during assembly.
Ingredient Swaps & Variations
-
Pudding flavor: Swap vanilla for banana cream or even cheesecake instant pudding for a fun twist.
-
Cookies: No vanilla wafers? Use graham crackers, shortbread, or even Biscoff cookies for a spiced undertone.
-
Add-ins: Fold in mini chocolate chips or crushed toffee bits between layers for added texture and flavor.
-
Healthier option: Substitute coconut whipped cream and almond milk for a dairy-free version, and use sugar-free pudding mix if needed.
How to Store Leftovers
Banana pudding stores well for 2–3 days in the refrigerator. Cover tightly with plastic wrap or transfer to an airtight container. Note that the bananas may brown slightly over time, and the wafers will continue to soften. If making in advance, consider assembling individual portions to maintain better texture.
Freezing is not recommended as the pudding and bananas can become watery and unappealing when thawed.
Serving Suggestions & Pairings
Banana pudding is delicious on its own, but it can also shine as part of a full meal spread.
Food Pairings:
-
Fried chicken or BBQ ribs for a true Southern experience.
-
Light summer salads or sandwiches for a refreshing contrast.
Drink Pairings:
-
Sweet iced tea
-
Cold brew coffee
-
Dessert wines like Moscato or Riesling
If you’re hosting a brunch or picnic, banana pudding makes the perfect sweet finish that guests will rave about.
FAQs About Banana Pudding
Q: Can I use homemade pudding instead of instant?
A: Absolutely! If you have the time, homemade vanilla custard adds an extra layer of richness. Just ensure it’s cooled before mixing in the whipped cream.
Q: Can this be made gluten-free?
A: Yes, simply swap the vanilla wafers with a gluten-free alternative and double-check that your pudding mix is gluten-free.
Q: Why is my whipped cream not stiffening?
A: Make sure your cream is cold and your mixing bowl is chilled. Avoid overbeating, which can cause the cream to curdle.
Q: Can I use Cool Whip instead of homemade whipped cream?
A: Yes, for convenience. However, homemade whipped cream gives the pudding a fresher, richer flavor.
Final Thoughts
Banana pudding is one of those desserts that brings comfort, joy, and just the right amount of indulgence to any occasion. With its luscious layers, fresh bananas, and nostalgic crunch of vanilla wafers, this recipe is sure to become a favorite in your household.
If you try this recipe, don’t forget to share it with your friends and family—especially those who love classic Southern desserts with a twist! Be sure to subscribe to the blog for more delicious, easy-to-follow recipes delivered straight to your inbox.
Let’s keep the sweetness going—happy layering!