Rich, Moist, and Deeply Chocolatey: The Ultimate Devil’s Food Cake Recipe
If you’ve been searching for the perfect chocolate cake—ultra-moist, deeply flavored, and topped with the silkiest cocoa buttercream—then this Devil’s Food Cake recipe is your dream come true. It’s decadent, indulgent, and entirely unforgettable.
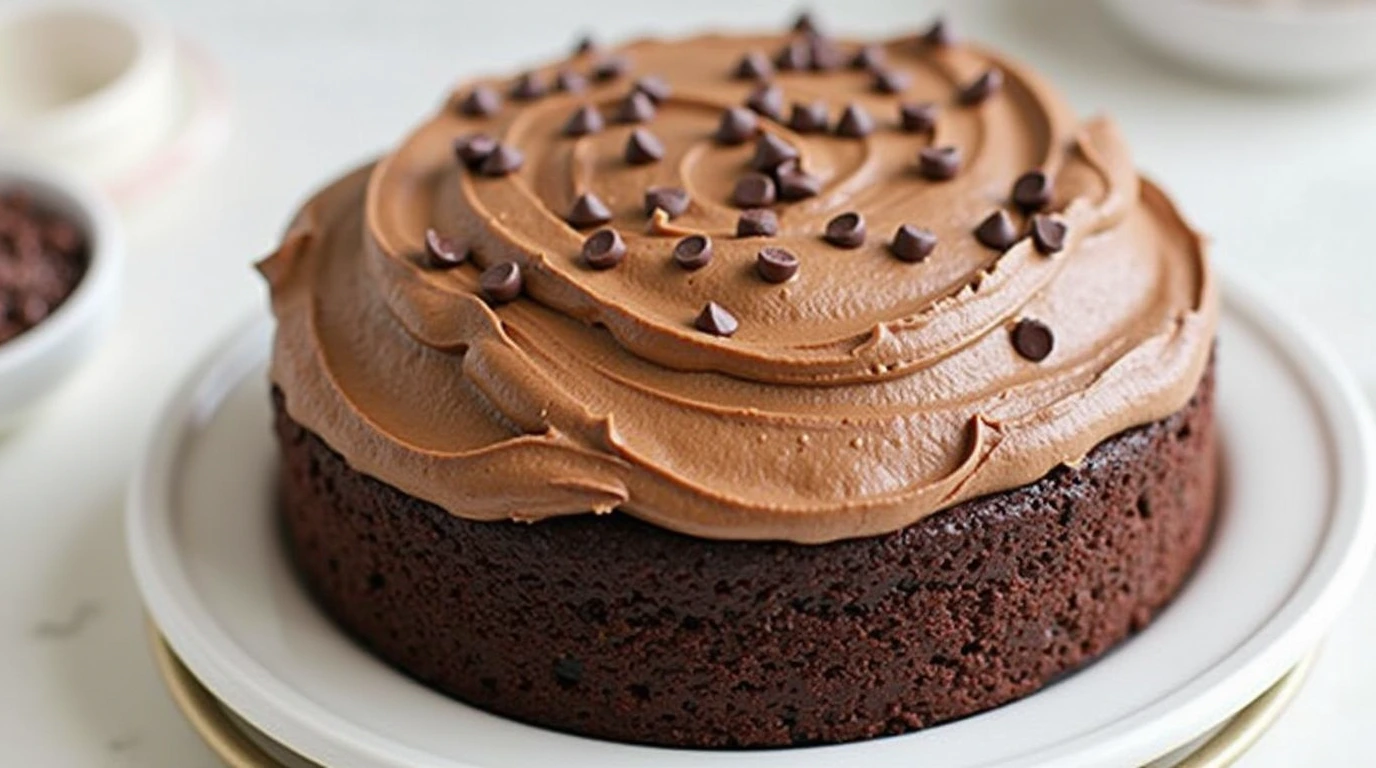
This recipe is a true celebration of chocolate. With a moist, tender crumb and the bold flavor of strong black coffee enhancing the cocoa, every bite melts in your mouth. The luscious chocolate buttercream frosting is the cherry on top, adding a rich and creamy contrast to the airy cake layers. It’s a fantastic dessert for birthdays, dinner parties, holidays, or any time you’re craving a luxurious treat.
Who This Recipe Is For
This Devil’s Food Cake is for the true chocolate lovers—those who don’t just want sweet, but crave complexity. The recipe balances rich cocoa with the subtle tang of buttermilk and the depth of brewed coffee. It’s approachable for home bakers, yet impressive enough for high-end occasions.
Whether you’re a seasoned baker or just diving into layer cakes for the first time, this recipe is straightforward and full of tips to help you succeed. If you want your chocolate cake to taste like it came from a boutique bakery but made with everyday ingredients in your own kitchen—this one’s for you.
Ingredients You’ll Need
For the Cake:
-
Cooking spray (for greasing pans)
-
2 cups all-purpose flour
-
1 ½ cups granulated sugar
-
¾ cup unsweetened cocoa powder
-
2 tsp baking soda
-
1 tsp baking powder
-
1 tsp kosher salt
-
½ cup vegetable oil
-
2 eggs, lightly beaten
-
1 cup strong black coffee (cooled slightly)
-
1 cup whole buttermilk
-
1 tsp vanilla extract
-
Chocolate sprinkles (optional, for decoration)
For the Chocolate Buttercream:
-
1 cup unsalted butter, softened
-
4 cups powdered sugar
-
½ cup unsweetened cocoa powder
-
4 tbsp heavy whipping cream
-
¼ tsp kosher salt
-
2 tsp vanilla extract
Kitchen Equipment You’ll Need
-
Two 8″ round cake pans
-
Parchment paper
-
Cooking spray
-
Large mixing bowl
-
Whisk and rubber spatula
-
Hand mixer or stand mixer
-
Measuring cups and spoons
-
Kitchen scale (optional but helpful)
-
Wire cooling rack
Step-by-Step Instructions
Step 1: Prepare the Cake Pans
Preheat your oven to 350°F. Line the bottoms of two 8-inch round cake pans with parchment paper, then spray both the bottom and sides with cooking spray.
Step 2: Combine Dry Ingredients
In a large bowl, whisk together the flour, sugar, cocoa powder, baking soda, baking powder, and salt. Make sure there are no lumps—this ensures a smooth batter later.
Step 3: Add Wet Ingredients
Add the oil, eggs, black coffee, buttermilk, and vanilla extract to the dry ingredients. Mix until just combined. Be careful not to overmix, as that can lead to a dense cake.
Step 4: Divide and Bake
Using a kitchen scale ensures evenly baked layers. Divide the batter equally between the two pans and bake for about 30 minutes, or until a toothpick inserted into the center comes out clean.
Step 5: Cool the Cakes
Let the cakes cool in the pans for at least 10–15 minutes before inverting them onto a wire rack. Cool completely before frosting.
Step 6: Make the Buttercream
Using a hand or stand mixer, beat the butter until creamy. Slowly add powdered sugar, one cup at a time. Mix in the cocoa powder, followed by the cream, salt, and vanilla extract. Beat until smooth and fluffy.
Step 7: Assemble the Cake
Spread a generous layer of buttercream between the two cake layers, then frost the top and sides. Decorate with chocolate sprinkles if desired. Chill the finished cake for at least an hour before slicing for the cleanest cut.
Expert Tips for Success
-
Use room temperature ingredients: Especially the eggs and buttermilk. This helps everything blend together evenly.
-
Don’t skip the coffee: It intensifies the chocolate flavor without making the cake taste like coffee.
-
Sift the cocoa powder: Both in the cake and buttercream to prevent clumps.
-
Level the cakes: If your cake layers bake up with domes, use a serrated knife to level them for a more stable stack.
Variations and Substitutions
-
No coffee? Substitute hot water or milk, though the coffee brings out the richness in the cocoa.
-
Dairy-free? Use almond milk with a tablespoon of vinegar in place of buttermilk and a dairy-free butter alternative for the frosting.
-
Want a mocha flavor? Add 1 tsp of espresso powder to the buttercream for a kick.
-
Add texture: Stir mini chocolate chips or chopped chocolate into the batter for an extra indulgent touch.
How to Store Devil’s Food Cake
Short-Term Storage
Cover and store the frosted cake in the refrigerator for up to 4 days. Let it come to room temperature before serving for the best texture.
Freezing
You can freeze unfrosted cake layers. Wrap them tightly in plastic wrap and freeze for up to 2 months. Thaw in the refrigerator overnight before frosting.
Leftover Frosting
Store any leftover buttercream in an airtight container in the fridge for up to a week. Re-whip it with a splash of cream before using again.
Serving Suggestions
This cake is perfect all on its own, but if you’re looking to take things to the next level, consider these pairings:
Drink Pairings:
-
Red wine – Try a bold cabernet or merlot.
-
Espresso or cappuccino – Complements the deep chocolate flavor.
-
Milk or chocolate milk – A nostalgic and comforting combo.
Food Pairings:
-
Fresh berries – Raspberries or strawberries cut the richness with a tart contrast.
-
Vanilla bean ice cream – A classic choice that never fails.
Frequently Asked Questions (FAQ)
What makes Devil’s Food Cake different from regular chocolate cake?
Devil’s Food Cake uses more cocoa powder and often coffee to deepen the chocolate flavor, giving it a darker, richer, and more intense profile compared to traditional chocolate cake.
Can I make this cake in a 9×13″ pan?
Yes, but baking time will need to be adjusted—check for doneness around 35–40 minutes.
Do I have to chill the cake before serving?
Chilling helps the buttercream set, which makes slicing easier and more attractive. It’s not mandatory but highly recommended.
Can I make the cake ahead of time?
Absolutely. You can bake the layers a day in advance and store them wrapped at room temperature or in the fridge. Frost the day of serving for best texture.
Is there a gluten-free option?
Use a high-quality 1:1 gluten-free flour blend. Results may vary slightly, but many home bakers report success with brands like Cup4Cup or King Arthur.
Final Thoughts: A Cake Worthy of Celebration
There’s something undeniably satisfying about making a beautiful, bakery-worthy chocolate cake from scratch. With its rich, moist crumb and creamy, dreamy frosting, this Devil’s Food Cake will win hearts at any gathering.
Don’t be surprised if people ask for seconds—or the recipe!