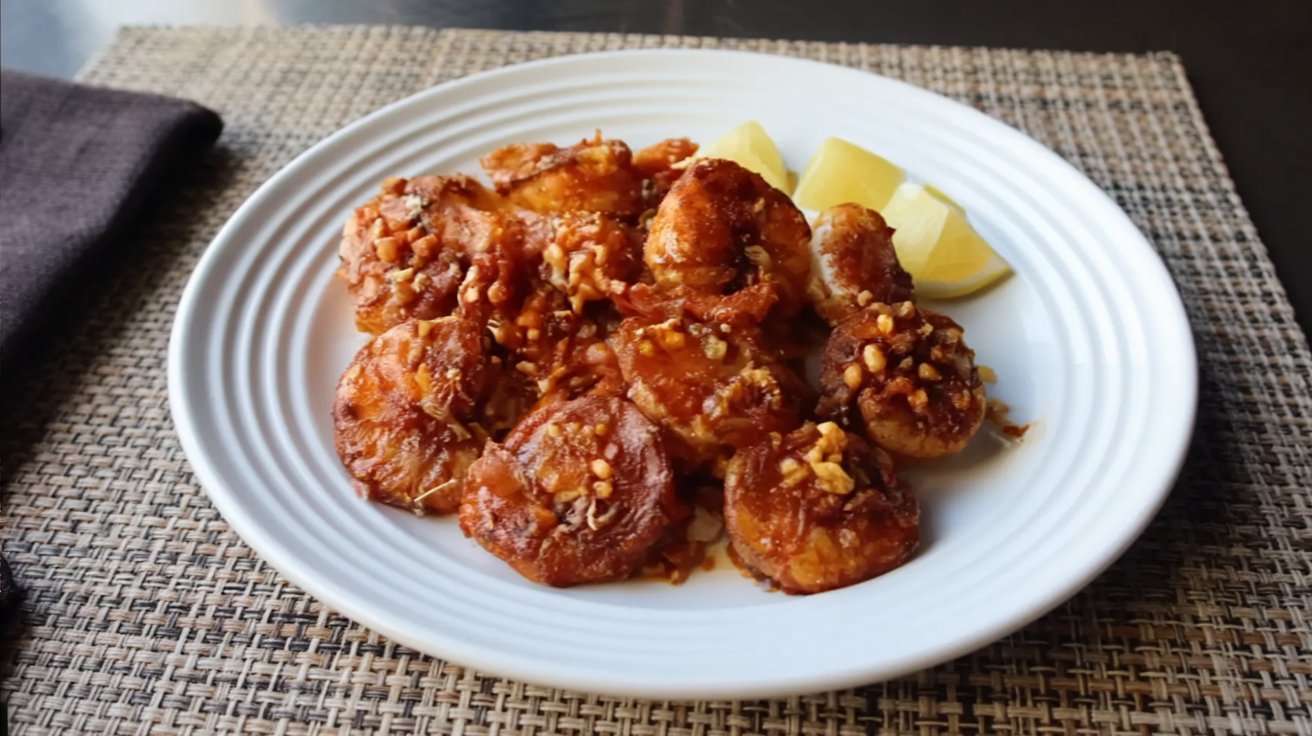
Ever wonder why some shrimp scampi tastes unforgettable while others feel flat? The secret is texture and timing. This Hawaiian Garlic Shrimp Scampi nails both: lightly crusted, shell-on shrimp seared to a golden edge, then drenched in toasty garlic butter. If you crave bold garlic flavor, a hint of heat, and buttery juices perfect for spooning over rice, this Hawaiian garlic shrimp scampi will become your fast favorite. We’ll keep it simple, speedy, and irresistibly aromatic—no marinating, no fuss, just maximum payoff in minutes.
Ingredients
| Ingredient | Amount / Quantity | Notes |
|---|---|---|
| Garlic (whole head) | 1 head | Separate, peel, and finely mince for deep flavor. |
| Unsalted butter | 4 tablespoons | For rich, glossy scampi sauce. |
| Large shrimp, frozen, deveined, shell-on, thawed | 1 pound | Shells help protect and crisp; pat very dry. |
| Rice flour | 2 tablespoons | Light, crisp coating that won’t get gummy. |
| Paprika | 1 tablespoon | Adds color and warm sweetness. |
| Kosher salt | 1 ½ teaspoons | Season in layers for best flavor. |
| Cayenne pepper | 1 teaspoon | Adjust to taste for a gentle kick. |
| Olive oil | 2 tablespoons | High heat searing; helps browning. |
Timing
- Prep: ~10 minutes (peel/mince garlic, dry shrimp, mix seasoning)
- Cook: ~12–15 minutes (garlic butter 2–3 min + shrimp 2–3 min/side in batches)
- Total: ~25 minutes (faster than many scampi recipes—ideal for weeknights)
Step-by-Step Instructions
Step 1: Peel and mince the garlic
Place the separated garlic cloves in a bowl, cap with another bowl, and shake ~30 seconds to loosen skins. Peel, then finely mince.
Tip: A pinch of kosher salt helps anchor the garlic on the board and speeds up mincing.
Step 2: Toast the garlic in butter
Melt 4 Tbsp butter in a sauté pan over medium heat. Add the minced garlic and cook, stirring, 2–3 minutes until light golden and fragrant—don’t let it brown deeply. Transfer garlic butter to a small bowl; reserve the pan.
Tip: Pull it early; residual heat keeps cooking garlic. Pale gold = sweet and nutty, not bitter.
Step 3: Season and coat the shrimp
Pat thawed, shell-on shrimp very dry with paper towels and place in a large bowl. In a small bowl, mix rice flour, paprika, kosher salt, and cayenne. Sprinkle the blend over shrimp and toss with a wide spoon or spatula until evenly coated.
Tip: Dry shrimp = better crust. If any spots look damp, dab again and re-toss.
Step 4: Sear in batches for a crisp edge
Heat 2 Tbsp olive oil in the same pan over medium-high. Arrange a single layer of shrimp (don’t crowd). Sear 2–3 minutes per side until browned and just opaque in the center. Spoon in some garlic butter and cook 30 seconds more to glaze. Transfer to a platter and repeat with remaining shrimp and garlic butter.
Tip: If the pan looks dry, add a teaspoon of oil between batches. Crowding traps steam and softens the crust—batching keeps it crispy.
Step 5: Serve immediately
Pile the shrimp on a warm platter with extra garlic butter drizzled on top. Hand out napkins—it’s a peel-and-eat situation, and that’s part of the fun!
Tip: Squeeze of lemon (optional) brightens the butter and balances the spice.
Nutritional Information
Approximate per serving, 4 servings (will vary by brands and pan absorption):
- Calories: ~320 kcal
- Protein: ~28 g
- Carbohydrates: ~8 g (Sugars: ~1 g)
- Fat: ~22 g (Saturated: ~10 g)
- Cholesterol: ~220 mg
- Sodium: ~900 mg
- Fiber: ~1 g
Shrimp provides lean protein and selenium; using shell-on helps retain moisture while promoting surface browning.
Healthier Alternatives
- Lighten the butter: Use 2 Tbsp butter + 1 Tbsp olive oil to keep buttery flavor with less saturated fat.
- Dial down the sodium: Swap to ½ the salt initially; finish with a squeeze of lemon and a pinch of smoked paprika for pop without extra salt.
- Gluten-free by default: Rice flour already keeps it GF; you can also use fine cornstarch for a super-light crust.
- Lower heat: Prefer mild? Reduce cayenne to ¼–½ tsp and lean on paprika for warmth.
- Dairy-free option: Replace butter with plant butter or all olive oil; finish with a splash of extra-virgin for aroma.
Serving Suggestions
- Classic plate: Mound over steamed white rice to soak up the garlicky butter.
- Fresh contrast: Add a crunchy slaw (cabbage, carrot, lime) or sliced cucumber with sea salt.
- Zesty finish: Lemon wedges, chopped parsley or scallions, and extra red pepper flakes for heat lovers.
- Party style: Serve as peel-and-eat with warm Hawaiian-style rolls for dunking into the sauce.
Common Mistakes to Avoid
- Over-toasting garlic: It turns bitter fast. Solution: Cook to pale gold, then remove from heat.
- Wet shrimp = soggy crust: Solution: Pat extremely dry before seasoning.
- Crowding the pan: Steams instead of sears. Solution: Cook in batches.
- High heat with butter only: Butter burns. Solution: Sear in oil; add butter/garlic at the end of each batch.
- Overcooking shrimp: Rubberiness follows. Solution: 2–3 minutes per side; pull when just opaque and springy.
- Under-seasoning: Flat flavor. Solution: Season the coating and finish with a pinch of salt or lemon.
Storing Tips for Hawaiian Garlic Shrimp Scampi
- Refrigerate: Airtight container up to 2 days.
- Reheat: Warm gently in a skillet over low heat with a teaspoon of water or butter just until hot. Avoid microwaving on high—shrimp toughen quickly.
- Freeze: Best to avoid; cooked shrimp can turn mealy. If you must, freeze up to 1 month and reheat lightly from thawed.
Conclusion
Crispy edges, a shower of toasty garlic, and buttery pan juices—this Hawaiian garlic shrimp scampi is proof that big flavor doesn’t require long cooking. With a light rice-flour crust and quick stovetop technique, you’ll serve peel-and-eat shrimp that tastes like a seaside food-truck classic, any night of the week. Make it tonight, then leave a rating and your twist in the comments—we love seeing how you plate it and which sides you pair!
FAQs
Q1. Can I use peeled shrimp instead of shell-on?
Yes, but shell-on protects the meat and boosts flavor. If using peeled, lower the cook time slightly and watch closely to avoid overcooking.
Q2. What can I use instead of rice flour?
Cornstarch or potato starch work well for a delicate, crisp coating. Use the same amount and toss lightly so it doesn’t clump.
Q3. How spicy is this?
It has a gentle kick from cayenne. Reduce to ¼–½ tsp for mild heat, or omit entirely and add a squeeze of lemon for brightness.
Q4. Can I make this in an air fryer?
Yes. Toss seasoned shrimp with 1 Tbsp oil, air fry at 400°F (205°C) for 6–8 minutes, shaking halfway. Melt garlic butter separately and toss to coat before serving.
Q5. What sides pair best?
Steamed rice, buttered noodles, or garlic bread to catch the sauce, plus something fresh—green salad or cucumber salad—for balance.
Print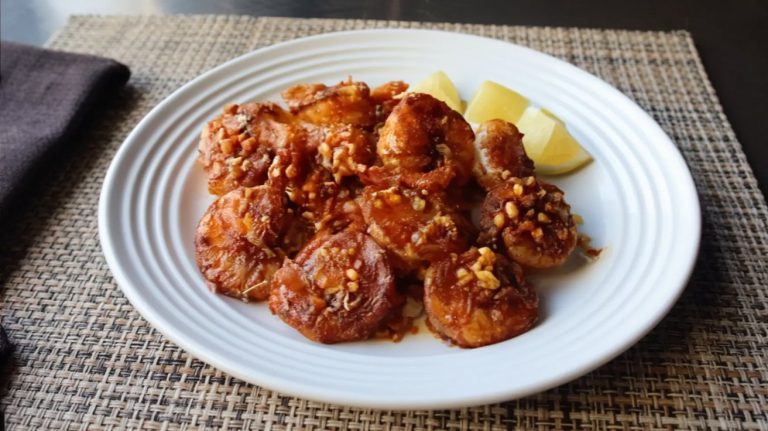
Hawaiian Garlic Shrimp Scampi (Crispy, Buttery, 25-Min)
Crispy, buttery Hawaiian-style garlic shrimp you can make in 25 minutes! Shell-on shrimp get a light rice-flour coating for a delicate crust, then are pan-seared and tossed in sweet, nutty garlic butter. Perfect for peel-and-eat over hot rice or with lemon wedges.
- Total Time: 25 minutes
- Yield: 4 servings
Ingredients
-
1 head garlic, cloves separated, peeled, and finely minced
-
4 tablespoons unsalted butter
-
1 pound large shrimp, frozen/deveined/shell-on, thawed and patted very dry
-
2 tablespoons rice flour
-
1 tablespoon paprika
-
1½ teaspoons kosher salt
-
1 teaspoon cayenne pepper (to taste)
-
2 tablespoons olive oil
Instructions
-
Prep the garlic: Place the separated cloves in a bowl, cap with another bowl, and shake ~30 seconds to loosen skins. Peel and finely mince (a pinch of salt helps anchor for faster mincing).
-
Make garlic butter: Melt 4 Tbsp butter in a sauté pan over medium heat. Add minced garlic; cook 2–3 minutes, stirring, until pale golden and fragrant (don’t brown). Transfer garlic butter to a small bowl; keep the pan for searing.
-
Season & coat shrimp: Pat thawed shell-on shrimp very dry. In a small bowl, mix rice flour, paprika, kosher salt, cayenne. Sprinkle over shrimp; toss gently until evenly coated.
-
Sear in batches: Heat 2 Tbsp olive oil in the same pan over medium-high. Add shrimp in a single, uncrowded layer; sear 2–3 minutes per side until browned and just opaque. Spoon in some garlic butter during the last 30 seconds to glaze. Transfer to a warm platter; repeat with remaining shrimp and garlic butter (add a teaspoon of oil between batches if pan looks dry).
-
Serve: Pile shrimp on a warm platter and drizzle with extra garlic butter. Optional squeeze of lemon brightens the butter and balances the spice. Serve immediately—peel-and-eat!
Notes
-
Crisp factor: Dry shrimp = better crust. Don’t crowd the pan or you’ll steam them.
-
Rice flour swap: Potato starch or cornstarch works in a pinch (texture slightly different).
-
Heat control: Pull the garlic when it’s pale gold—residual heat keeps cooking it.
-
Serving ideas: Over hot white rice with lemon wedges; add mac salad for a plate-lunch vibe.
- Prep Time: 10 minutes
- Cook Time: 15 minutes
- Category: Main Course
- Method: Stovetop (Pan-Sear)
- Cuisine: Hawaiian
Nutrition
- Serving Size: 1/4 of recipe (~4 oz / 115 g cooked shrimp)
- Calories: ~320 kcal
- Sugar: ~1 g
- Sodium: ~900 mg
- Fat: ~22 g
- Saturated Fat: ~10 g
- Unsaturated Fat: ~12 g
- Trans Fat: 0 g
- Carbohydrates: ~8 g
- Fiber: 1 g
- Protein: 28 g
- Cholesterol: 220 mg