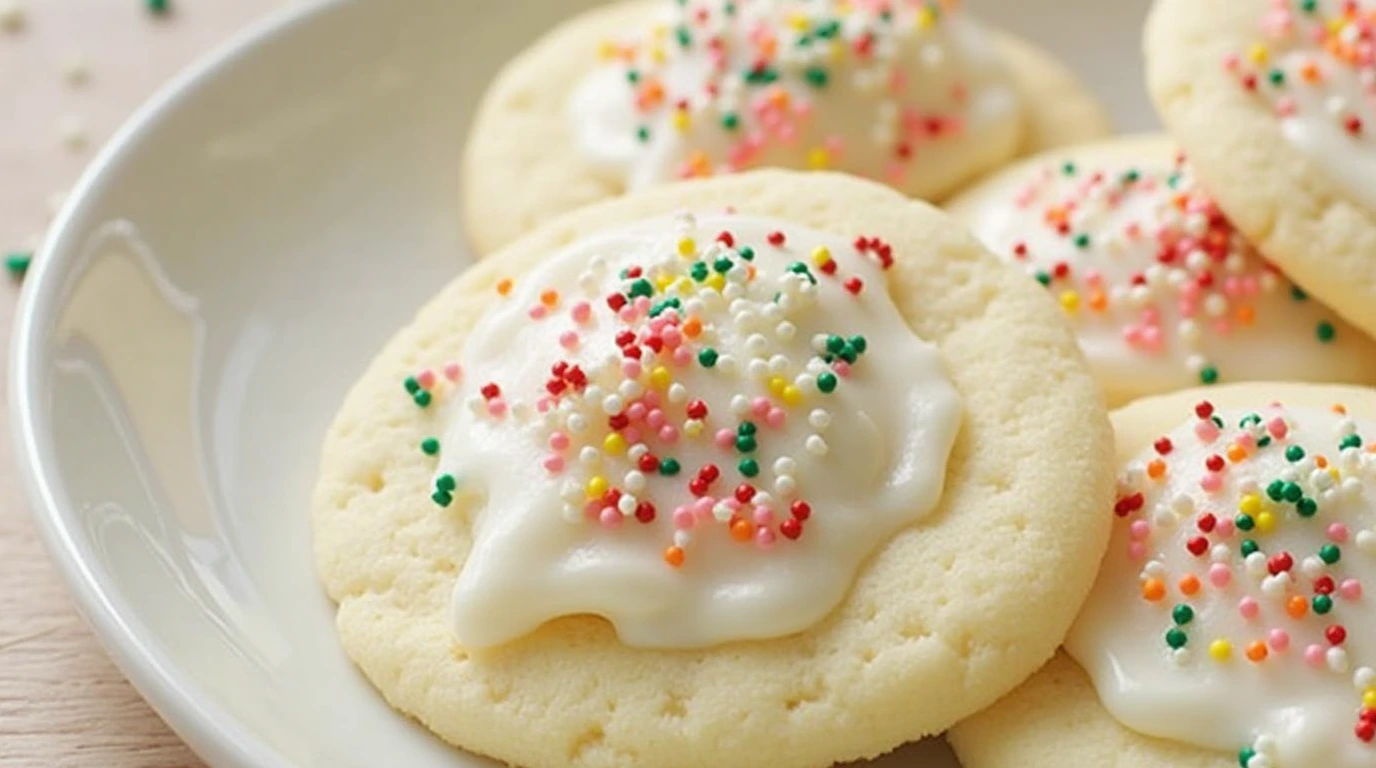
Italian Ricotta Cookies – Soft, Sweet, and Irresistibly Festive
Italian Ricotta Cookies are the kind of traditional treat that brings generations together. Whether you’re baking for a holiday, celebration, or just to indulge in a sweet moment of joy, these soft, pillowy cookies are always a hit. Made with rich ricotta cheese and topped with a sweet almond glaze and sprinkles, they’re as charming as they are delicious.
Why You’ll Love These Italian Ricotta Cookies
This recipe is perfect for bakers of all levels. If you’re new to baking, it offers a simple and forgiving dough that comes together easily. If you’re experienced, you’ll appreciate how well these cookies hold their shape and absorb flavor. And if you’re just here for the sweets—these cookies will not disappoint. Soft, cake-like, and lightly sweet, the ricotta lends them a moist, tender crumb that is truly addictive.
They’re ideal for Christmas cookie trays, Easter brunch spreads, baby showers, or just a cozy weekend bake. With classic flavors and easy customization, these cookies can match any occasion or craving.
Ingredients for Italian Ricotta Cookies
Here’s everything you’ll need for these soft, melt-in-your-mouth cookies:
For the Cookies:
-
2 sticks butter, softened (1/2 pound)
-
1 ¾ cup granulated sugar
-
2 eggs
-
1 container (15 oz.) ricotta cheese (whole milk preferred)
-
2 tablespoons vanilla extract
-
4 cups all-purpose flour
-
1 teaspoon baking powder
-
1 teaspoon baking soda
For the Glaze:
-
4–5 tablespoons milk
-
1 ½ cups powdered sugar
-
1 teaspoon almond extract
Optional: Sprinkles for decorating
Kitchen Equipment Needed
-
Mixing bowls (at least two medium-sized)
-
Electric hand mixer or stand mixer
-
Measuring cups and spoons
-
Rubber spatula
-
Wire rack
-
Baking sheets (ungreased)
-
Parchment paper (optional, for easier cleanup)
-
Cookie scoop or spoon
Step-by-Step Instructions
Step 1: Preheat and Prepare
Preheat your oven to 350°F (175°C). Prepare your baking sheets by either leaving them ungreased or lining them with parchment paper for easier cleanup.
Step 2: Make the Dough
In a medium bowl, cream together the softened butter and sugar until light and fluffy—this usually takes about 2–3 minutes with a hand or stand mixer. Add the eggs one at a time, beating after each addition. Mix in the ricotta cheese and vanilla extract until the mixture is smooth and well-combined.
In a separate bowl, whisk together the flour, baking powder, and baking soda. Gradually add the dry ingredients to the wet ingredients, mixing until just combined. The dough will be slightly sticky—this is perfectly normal.
Step 3: Shape and Bake
Use a teaspoon or small cookie scoop to form dough into small balls and place them 2 inches apart on your baking sheets. Bake for 8–10 minutes, or until the bottoms are lightly golden. The tops should remain pale and soft.
Let the cookies cool on the baking sheet for 3 minutes before transferring them to a wire rack to cool completely.
Step 4: Glaze and Decorate
In a clean bowl, whisk together the powdered sugar, milk, and almond extract until smooth. The glaze should be thick enough to coat the cookies but thin enough to dip. Add more milk a teaspoon at a time if needed.
Dip the tops of each cookie into the glaze and return them to the wire rack. Immediately top with sprinkles so they stick. Allow the glaze to set for at least 20 minutes.
Tips for the Best Ricotta Cookies
-
Use whole milk ricotta for the best texture and flavor. If your ricotta is watery, drain it slightly using cheesecloth or paper towels.
-
Don’t overbake. These cookies should stay soft. The bottoms should just start to turn golden when they’re done.
-
Chill the dough if it’s too sticky to handle. 20–30 minutes in the fridge can make scooping easier.
-
Use a cookie scoop for even-sized cookies that bake uniformly.
Recipe Variations
One of the best things about this recipe is how adaptable it is. Here are some delicious spins to try:
-
Citrus Zest: Add 1 tablespoon of lemon or orange zest to the dough for a fresh twist.
-
Different Extracts: Try swapping vanilla or almond for anise, lemon, or coconut extract.
-
Chocolate Drizzle: Skip the glaze and drizzle cooled cookies with melted dark chocolate.
-
Festive Flair: Color the glaze with food coloring to match holiday themes—red and green for Christmas, pastel for Easter, etc.
How to Store Ricotta Cookies
These cookies stay soft and delicious for days, which makes them perfect for make-ahead baking.
-
Room Temperature: Store in an airtight container for up to 4–5 days.
-
Refrigeration: Keep in the fridge for up to a week. Let them come to room temperature before serving for best texture.
-
Freezing: Freeze undecorated cookies for up to 2 months. Glaze after thawing.
Food & Drink Pairings
Pair these cookies with:
-
Coffee or espresso – Their sweetness pairs beautifully with a strong cup of coffee.
-
Limoncello – For an after-dinner treat with an Italian touch.
-
Milk or hot chocolate – A comforting combination perfect for winter evenings.
Frequently Asked Questions (FAQ)
Q: Can I use part-skim ricotta?
A: Yes, but whole milk ricotta gives the cookies a richer texture and better moisture.
Q: Can I make these gluten-free?
A: Yes, use a 1:1 gluten-free flour blend with xanthan gum for best results. Always check your baking powder and soda for gluten-free labeling.
Q: My cookies are too puffy or flat—what happened?
A: Too much flour or under-mixing can cause puffiness. Too little flour or overly warm butter can lead to flat cookies. Measure flour properly (scoop and level) and avoid over-softening the butter.
Q: How long does the glaze take to set?
A: It usually sets within 20–30 minutes, depending on humidity and thickness.
Q: Can I double the recipe?
A: Absolutely! This recipe scales up beautifully for large gatherings.
Final Thoughts
Italian Ricotta Cookies are the definition of comfort baking. With their soft, cake-like texture and sweet almond glaze, they deliver that nostalgic flavor we often associate with homemade goodness. Whether you’re continuing a family tradition or starting your own, this recipe is a must-have for your dessert repertoire.
If you loved this recipe, don’t forget to share it with your friends and family, and subscribe to our blog for more deliciously simple bakes and kitchen inspiration. Happy baking!