No-Bake Chocolate Oat Bars: A Deliciously Simple Treat for All Occasions
When the craving for something sweet hits but the idea of turning on the oven makes you wince, No-Bake Chocolate Oat Bars come to the rescue. These chewy, chocolaty bars are the perfect marriage of rich dark chocolate, nutty peanut butter, and hearty oats—with just a whisper of cinnamon and vanilla to warm the flavor profile.
Whether you’re a busy parent in need of a quick snack for the kids, a college student in a dorm with no oven, or someone who simply loves fuss-free desserts, this recipe is a guaranteed crowd-pleaser. Even better? It uses pantry staples and requires minimal hands-on time.
Why You’ll Love These No-Bake Chocolate Oat Bars
-
No oven needed – Perfect for warm-weather days or small kitchens.
-
Quick to make – Just 15 minutes of prep before chilling.
-
Simple ingredients – You probably already have everything on hand.
-
Naturally gluten-free – As long as you use certified gluten-free oats.
-
Freezer-friendly – Make a batch and enjoy over time.
-
Sweet, salty, chewy, and chocolaty – The ultimate flavor combo.
These bars are the kind of recipe that becomes a staple in your snack rotation—easy enough for everyday, delicious enough to serve at a party or potluck.
Ingredients You’ll Need
Let’s take a closer look at the ingredients that make these bars a standout:
-
1 cup butter – Adds richness and helps bind the oats.
-
½ cup packed brown sugar – Gives a deep caramel sweetness.
-
1 teaspoon pure vanilla extract – Enhances all the other flavors.
-
3 cups rolled oats – Choose old-fashioned oats for the best texture.
-
½ teaspoon ground cinnamon – Adds warmth and depth.
-
¼ teaspoon kosher salt – Balances out the sweetness.
-
1 cup dark chocolate chips – Bittersweet chips are perfect here.
-
¾ cup chunky peanut butter – Offers creamy texture and crunch.
Step-by-Step Instructions
Step 1: Prep Your Pan
Line an 8-inch-by-8-inch baking dish with parchment paper. Leave a little overhang on the sides to make removal easy later.
Step 2: Make the Oat Base
In a medium saucepan, melt the butter, brown sugar, and vanilla extract over low heat, stirring often until smooth and fully combined. Once melted, stir in the oats, cinnamon, and kosher salt.
Continue cooking and stirring for about 4 to 5 minutes. The oats will begin to soften and toast slightly, enhancing their flavor.
Step 3: Layer the Oats
Press half of the oat mixture into the bottom of the prepared pan. Use a spatula or the back of a spoon to press it down firmly and evenly. This will form the base.
Step 4: Make the Chocolate Filling
In a microwave-safe bowl, combine the chocolate chips and peanut butter. Microwave in 40-second intervals, stirring between each, until the mixture is smooth and fully melted. This usually takes 2 rounds.
Step 5: Assemble the Layers
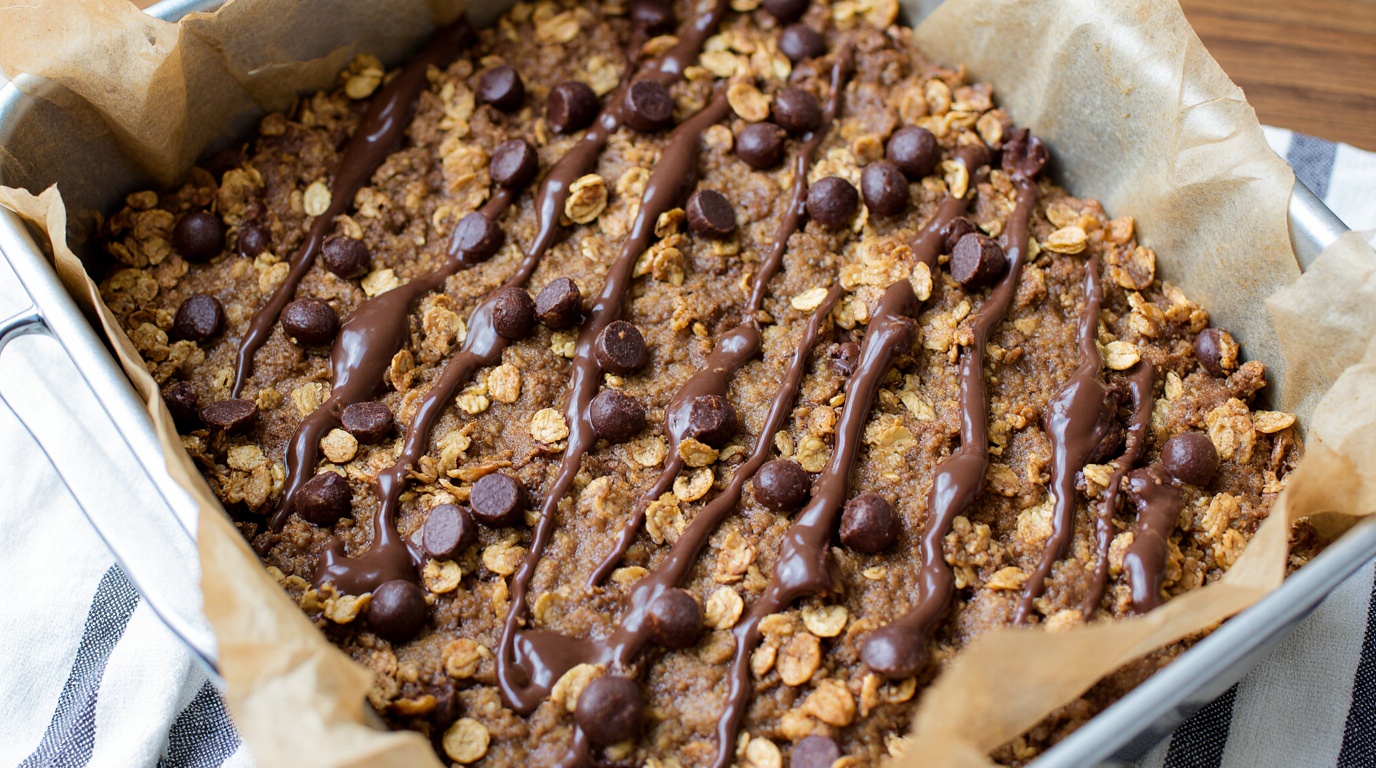
Pour ¾ of the chocolate mixture over the oat base, spreading it evenly. Add the remaining oat mixture on top and gently press it down. Drizzle the remaining ¼ cup of chocolate mixture over the top for a beautiful, swirled finish.
Step 6: Chill and Set
Place the pan in the refrigerator and chill for at least 4 hours, or until completely set. For best results, let it sit overnight.
Once firm, lift the bars out using the parchment paper, and slice into squares or rectangles.
Kitchen Equipment You’ll Need
-
8×8-inch baking dish
-
Parchment paper
-
Medium saucepan
-
Microwave-safe bowl
-
Mixing spoon or spatula
-
Knife for slicing
-
Measuring cups and spoons
Storage Instructions
How to Store Leftovers
Keep bars in an airtight container in the refrigerator for up to 7 days. Separate layers with parchment to avoid sticking.
Can You Freeze Them?
Yes! These bars freeze beautifully. Store in a freezer-safe container or zip-top bag for up to 3 months. Thaw at room temperature for 10–15 minutes before serving.
Tips for Success
-
Use rolled oats, not quick oats – Quick oats will make the texture mushy.
-
Add-ins welcome – Chopped nuts, shredded coconut, or dried fruit can add extra flair.
-
Don’t skip the chill time – It’s crucial for the bars to firm up.
-
Grease your spatula – To help with pressing the sticky oat mixture.
Recipe Variations
🥥 Coconut Lover’s Bars
Add ½ cup shredded coconut to the oat mixture and sprinkle more on top of the final chocolate drizzle.
🍌 Banana Chocolate Bars
Mash 1 ripe banana into the oat mixture before pressing. Reduce the butter slightly to compensate for added moisture.
🍓 PB&J Version
Swirl in 2 tablespoons of strawberry jam into the chocolate and peanut butter mixture for a nostalgic twist.
☕ Mocha Energy Bars
Add 1 tablespoon of espresso powder to the chocolate mixture for a caffeine boost.
Perfect Pairings
These bars are delightful on their own, but here are some pairings to elevate the experience:
-
Cold brew coffee or espresso – The bitterness balances the sweetness.
-
Vanilla almond milk – Complements the nutty flavors.
-
Fresh fruit like strawberries or raspberries – Adds brightness and color.
-
Greek yogurt – For a more filling snack or breakfast bar option.
Frequently Asked Questions (FAQ)
Can I use quick oats instead of rolled oats?
Technically yes, but the texture won’t be as chewy and satisfying. Rolled oats are strongly recommended.
What if I only have smooth peanut butter?
That works just fine! The texture will be creamier without the crunch of chunky peanut butter.
Is this recipe gluten-free?
Only if you use certified gluten-free oats. Regular oats may contain cross-contamination.
Can I use honey or maple syrup instead of brown sugar?
This recipe relies on brown sugar for its rich flavor and structure. A liquid sweetener may make the bars too soft, but you could experiment by reducing the butter.
Can I use a different chocolate?
Yes! Milk chocolate, semi-sweet, or even white chocolate work well. Just know that darker chocolate balances the sweetness better.
What’s the best way to slice these bars neatly?
Chill the bars thoroughly. Use a sharp knife, wiping it clean between cuts. You can also dip the knife in hot water and dry it before slicing for even cleaner lines.
Final Thoughts
These No-Bake Chocolate Oat Bars check every box: quick, easy, crave-worthy, and endlessly customizable. With just a few pantry staples and minimal effort, you can whip up a tray of bars that taste like a cross between a granola bar and a peanut butter cup. They’re perfect for lunchboxes, mid-day snacks, post-workout bites, or a healthy-ish dessert.