No-Bake Mango Cheesecake: A Luscious Summer Dessert Without the Oven
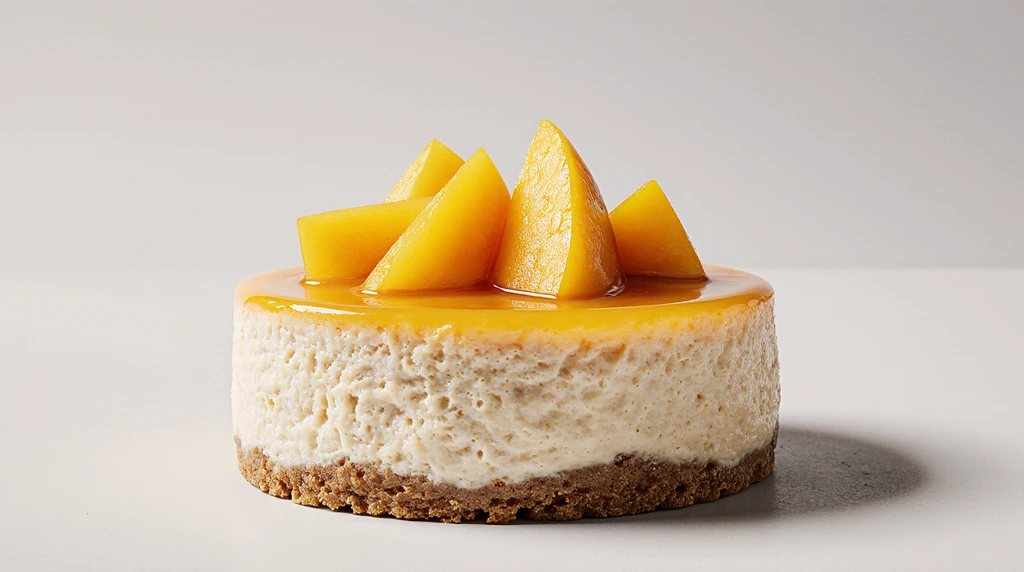
If you’re searching for the perfect summer dessert that’s creamy, tropical, and fuss-free, this No-Bake Mango Cheesecake is about to become your new favorite. This stunning dessert brings together the buttery crunch of a biscuit base, the silky smoothness of mango-infused cream cheese filling, and a glossy mango jelly top that captures the brightness of ripe mangoes in every bite.
Whether you’re entertaining guests, preparing a special treat for your family, or simply craving something indulgent yet refreshing, this no-bake cheesecake checks all the boxes. It’s a tropical showstopper that looks impressive, tastes divine, and doesn’t require turning on the oven — making it ideal for warm-weather months.
Who This Recipe is For
This No-Bake Mango Cheesecake is for anyone who:
-
Loves tropical fruit-forward desserts.
-
Prefers no-fuss, oven-free recipes (perfect for hot summer days).
-
Enjoys rich, creamy textures paired with light and fruity flavors.
-
Wants to impress guests without spending hours baking.
It’s perfect for parties, birthdays, family get-togethers, or even as a make-ahead dessert for a weekend barbecue.
Ingredients You’ll Need
For the Biscuit Base
-
150 g / 5 oz Arnott’s Marie Biscuits (or Graham Crackers/Digestives)
-
100 g / 3.5 oz unsalted butter, melted
-
2 tbsp white sugar
For the Mango Layer
-
700 g / 1.4 lb mango flesh (about 2 large ripe mangoes)
For the Creamy Filling
-
4 ½ tsp gelatin powder
-
½ cup (125 ml) cold water
-
500 g (1 lb) cream cheese, softened
-
⅔ cup (150 g) caster sugar
-
300 ml (10 oz) whipping cream
For the Mango Jelly Topping
-
¾ tsp gelatin powder
-
¼ cup (65 ml) cold water
-
1 tbsp lemon juice
-
¾ cup mango puree (reserved from earlier)
Optional Toppings
-
300 ml whipping cream
-
1 tbsp white sugar
-
1 tsp vanilla extract
-
1 mango, diced
-
2 passionfruit
Step-by-Step Instructions
Prepare the Cake Pan
Use a 22 cm (9”) springform pan. Turn the base upside down for easier removal. Line the base with a square of parchment paper and secure. Grease the sides with butter and line with parchment paper.
Make the Biscuit Base
-
Blitz biscuits into fine crumbs using a food processor.
-
Add melted butter and sugar; pulse until combined.
-
Pour mixture into the prepared pan and press firmly into the base. Chill while you prepare the filling.
Prepare the Mango Cheesecake Filling
-
In a small bowl, sprinkle gelatin over cold water and let it bloom for 5 minutes.
-
Microwave for 2 x 15 seconds, stirring in between until dissolved. Let cool for 5 minutes.
-
Blitz mango flesh in the food processor until smooth. Reserve ¾ cup of puree for the jelly topping.
-
Add cream cheese, sugar, whipping cream, and gelatin mixture to the mango puree in the food processor.
-
Blend for 30–45 seconds until completely smooth.
-
Pour over the chilled base and refrigerate for at least 3 hours.
Make the Mango Jelly Topping
-
Bloom gelatin in water for 5+ minutes, then microwave for 2 x 10 seconds and stir until dissolved.
-
Combine with reserved mango puree and lemon juice. Whisk well.
-
Pour gently over the set cheesecake. Tilt to spread evenly.
-
Chill for at least 12 hours or overnight.
Decorate Before Serving
-
Whip cream with sugar and vanilla until soft peaks form.
-
Pile over the center of the cheesecake.
-
Top with fresh diced mango and passionfruit pulp.
Kitchen Equipment You’ll Need
-
22 cm (9″) springform pan
-
Food processor or blender
-
Microwave-safe bowls
-
Spatula and whisk
-
Measuring cups and spoons
-
Mixing bowls
-
Hand mixer (for whipped cream)
-
Parchment paper
Tips & Variations
-
No Gelatin? Substitute with agar-agar powder (though texture will slightly differ).
-
Fruit Swap: Pineapple, peach, or papaya can be used in place of mango, but be mindful of their water content.
-
Dairy-Free Version: Use vegan cream cheese and coconut cream for a plant-based alternative.
-
Add a Crunch: Mix in 1 tbsp chopped roasted nuts (like pistachios or almonds) into the biscuit base.
-
Mini Versions: Use muffin tins with liners to make individual cheesecakes.
Storage Instructions
Refrigeration: Store covered in the fridge for up to 4 days. Use a cake dome or tightly wrap the pan in plastic wrap.
Freezing: You can freeze this cheesecake for up to one month. Skip the fresh fruit toppings if freezing. Let thaw in the fridge overnight before serving.
Serving Suggestions & Pairings
This cheesecake is a dessert in its own right, but here are some serving ideas to elevate your experience:
-
Pair with a chilled glass of Prosecco, sparkling mango lassi, or iced green tea.
-
Serve alongside coconut macaroons or lime shortbread cookies.
-
Garnish with mint leaves or lime zest for an extra pop of color and flavor.
Frequently Asked Questions (FAQ)
Q: Can I use canned mango instead of fresh?
Yes, just ensure it’s pure mango with no added sugar or syrup. Fresh mangoes do yield the best flavor.
Q: How do I know if the gelatin is dissolved properly?
After microwaving and stirring, the liquid should be clear with no visible grains. A few specks are okay.
Q: My cheesecake isn’t setting. What did I do wrong?
Check if your gelatin was bloomed and dissolved correctly. Also, ensure you gave it enough chilling time (minimum 3 hours for the filling, 12 for the jelly).
Q: Can I make this ahead of time?
Absolutely! This is an ideal make-ahead dessert. It actually tastes better the next day as the flavors meld together.
Q: What’s the best cream cheese to use?
Full-fat Philadelphia cream cheese gives the best texture and flavor. Avoid spreadable or low-fat versions for best results.
Final Thoughts
This No-Bake Mango Cheesecake is the epitome of a luxurious tropical dessert that looks as good as it tastes. It’s creamy, fruity, and layered with flavors and textures that leave a lasting impression. With no oven required and a make-ahead friendly process, it’s a win for home bakers of all skill levels.
Love this recipe? Share it with your fellow foodies and pin it for later! Don’t forget to subscribe to the blog for more high-end, seasonal recipes and kitchen tips delivered straight to your inbox. Let’s make every meal a celebration.