No Fuss Pie Crust Recipe – A Foolproof Shortcut for Homemade Pies
There’s nothing quite like the satisfaction of pulling a golden, homemade pie out of the oven—especially when the crust is buttery, flaky, and made entirely from scratch. But let’s be honest: traditional pie crust recipes can be time-consuming and finicky, often requiring a food processor, rolling pins, and a fair amount of patience. That’s why I’m excited to share this No Fuss Pie Crust Recipe—the ultimate shortcut for pie lovers who crave the homemade experience without the hassle.
Whether you’re a beginner baker or a seasoned pro in search of a time-saving trick, this recipe will become a staple in your kitchen. With no rolling required and just five basic ingredients, it’s as simple as mix, press, and bake. This crust is versatile enough for sweet and savory pies alike, making it the ideal go-to for any occasion.
Who This Recipe Is For
This pie crust recipe is designed for:
-
Busy home bakers who want delicious results without spending hours in the kitchen.
-
Beginner bakers intimidated by the idea of making crust from scratch.
-
Anyone looking to reduce mess and cleanup—no floured counters or sticky rolling pins here.
-
Pie lovers who enjoy a rustic, slightly crumbly, flavorful crust.
If you’ve ever wanted to whip up a fruit pie on a whim or need a reliable base for your quiche without resorting to store-bought dough, this No Fuss Pie Crust has your name on it.
Ingredients for No Fuss Pie Crust
You’ll only need five ingredients (six if you want a touch of sweetness) for this crust:
-
1 ½ cups all-purpose flour
-
1 tablespoon sugar (optional, great for fruit or dessert pies)
-
½ teaspoon salt
-
½ cup vegetable oil or melted butter (for richer flavor)
-
2 tablespoons milk
That’s it. No shortening, no chilling, no complicated steps.
Step-by-Step Instructions
1. Preheat and Prepare
Preheat your oven to 425°F (220°C). This high temperature helps create that perfectly golden, crisp crust.
2. Mix Dry Ingredients
In a medium mixing bowl, whisk together the flour, salt, and sugar (if using). The sugar adds a hint of sweetness and helps the crust brown nicely—great for apple, berry, or custard pies.
3. Combine Wet Ingredients
In a separate bowl or measuring cup, whisk together the oil or melted butter and milk. This mixture is the secret to making the crust soft, moist, and easy to work with.
4. Merge Wet and Dry
Pour the wet mixture into the dry ingredients. Stir with a fork until a soft dough forms. It may appear crumbly at first, but keep mixing until it holds together.
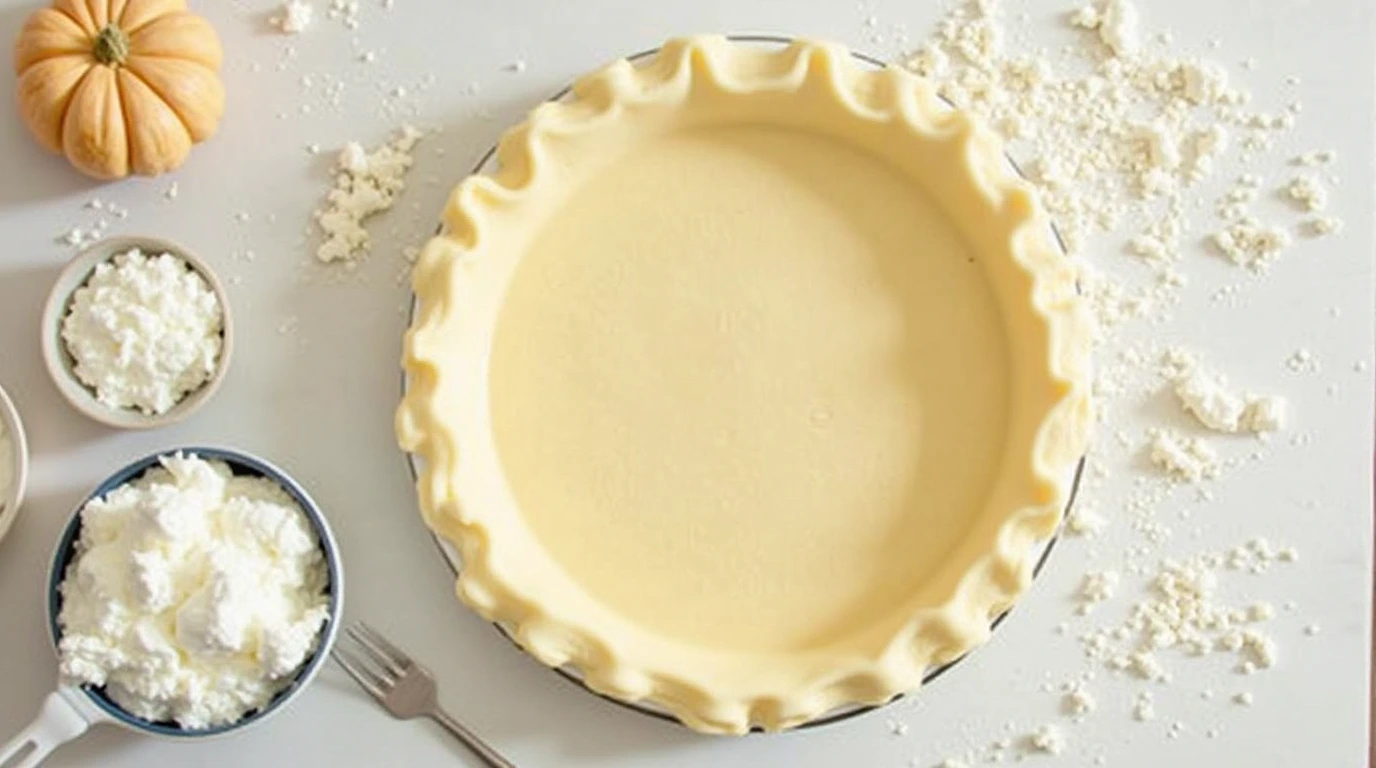
5. Press into Pan
Take the dough and press it directly into a 9-inch pie pan, spreading it evenly along the bottom and up the sides. No rolling pin needed! Use your fingers or the bottom of a measuring cup to press and smooth it out.
6. Pre-Bake if Needed
If your recipe calls for a pre-baked (or blind-baked) crust—such as for cream or custard pies—bake the empty shell for 12–15 minutes, or until lightly golden.
For pies that bake with their fillings (like pecan, pumpkin, or quiche), skip the pre-bake and go straight to filling and baking according to your recipe’s instructions.
Kitchen Equipment You’ll Need
One of the best things about this recipe is how little equipment it requires:
-
Mixing bowls (2)
-
Measuring cups and spoons
-
Fork or silicone spatula
-
9-inch pie pan
-
Oven
No food processor, rolling pin, or pastry cutter required!
Tips and Tricks for Success
-
Oil vs. Butter: Using oil gives a soft, tender crust with a more neutral flavor. Melted butter adds richness and a more classic pie crust flavor. Try both and see which you prefer!
-
Don’t Overmix: Mix the dough just until it comes together. Overmixing can make the crust tough.
-
Use a Measuring Cup to Smooth: For a polished finish, press the dough down using the bottom of a measuring cup or glass.
-
Customize the Flavor: Add ½ teaspoon of cinnamon or nutmeg to the flour for dessert pies, or a pinch of dried herbs like thyme or rosemary for savory pies.
-
Make Mini Pies: Use a muffin tin to press in smaller portions of dough for individual pies or tarts.
Recipe Variations
This crust is endlessly adaptable. Try these variations:
-
Whole Wheat Version: Swap ½ cup of the all-purpose flour for whole wheat flour for a nuttier flavor.
-
Vegan-Friendly: Use vegetable oil and a non-dairy milk like almond or oat for a completely vegan pie crust.
-
Savory Herb Crust: Add 1 teaspoon of dried Italian herbs or cracked black pepper to the dough for savory pies like tomato tart or quiche.
-
Sweet Nut Crust: Add ¼ cup finely chopped nuts (walnuts or pecans) to the dough for texture and flavor in dessert pies.
Storing Leftovers
Once your pie is baked, you can store it (and any crust leftovers) properly for maximum freshness.
-
Room Temperature: Pies with fruit or sugar-based fillings can be stored, covered, at room temperature for up to 2 days.
-
Refrigerator: Cream, custard, or meat pies should be stored in the fridge and will keep for 3–4 days.
-
Freezing the Dough: While this dough is best made fresh, you can freeze pressed-in crusts (in the pie pan) unbaked for up to 2 months. Thaw in the fridge before using.
Perfect Pairings for Your Pie
This versatile crust pairs well with nearly any filling or occasion:
-
Fruit pies (apple, cherry, blueberry) with a touch of vanilla ice cream
-
Cream pies like chocolate or banana with whipped topping
-
Savory quiches paired with a fresh green salad and white wine
-
Holiday pies like pumpkin or pecan served with coffee or spiced cider
Frequently Asked Questions (FAQ)
Q: Can I roll this dough out instead of pressing it in?
A: Technically, yes, but it’s quite soft and delicate, so pressing it into the pan is easier and more effective.
Q: Can I double the recipe?
A: Absolutely! This recipe doubles easily. Perfect for double-crust pies or making multiple pies at once.
Q: My crust is cracking when I press it—what should I do?
A: Add a teaspoon of milk at a time to moisten the dough. It should be soft but not sticky.
Q: Is this crust flaky like traditional pie crusts?
A: It’s more tender and crumbly than flaky. For ultra-flaky layers, a classic butter-and-shortening crust is better, but this recipe shines in its ease and texture.
Q: Can I use gluten-free flour?
A: Yes! Use a gluten-free all-purpose blend with xanthan gum for best results.
Final Thoughts
This No Fuss Pie Crust is the answer to all your crust-making dilemmas. It’s fast, foolproof, and incredibly versatile—perfect for weeknight dinners or last-minute holiday desserts. With no rolling or chilling required, you’ll spend less time prepping and more time enjoying your delicious homemade pies.
Whether you’re baking your grandmother’s apple pie recipe or experimenting with savory quiches, this crust rises to the occasion with ease and flavor.