Raspberry Chocolate Tart: A Decadent Dessert for Every Occasion
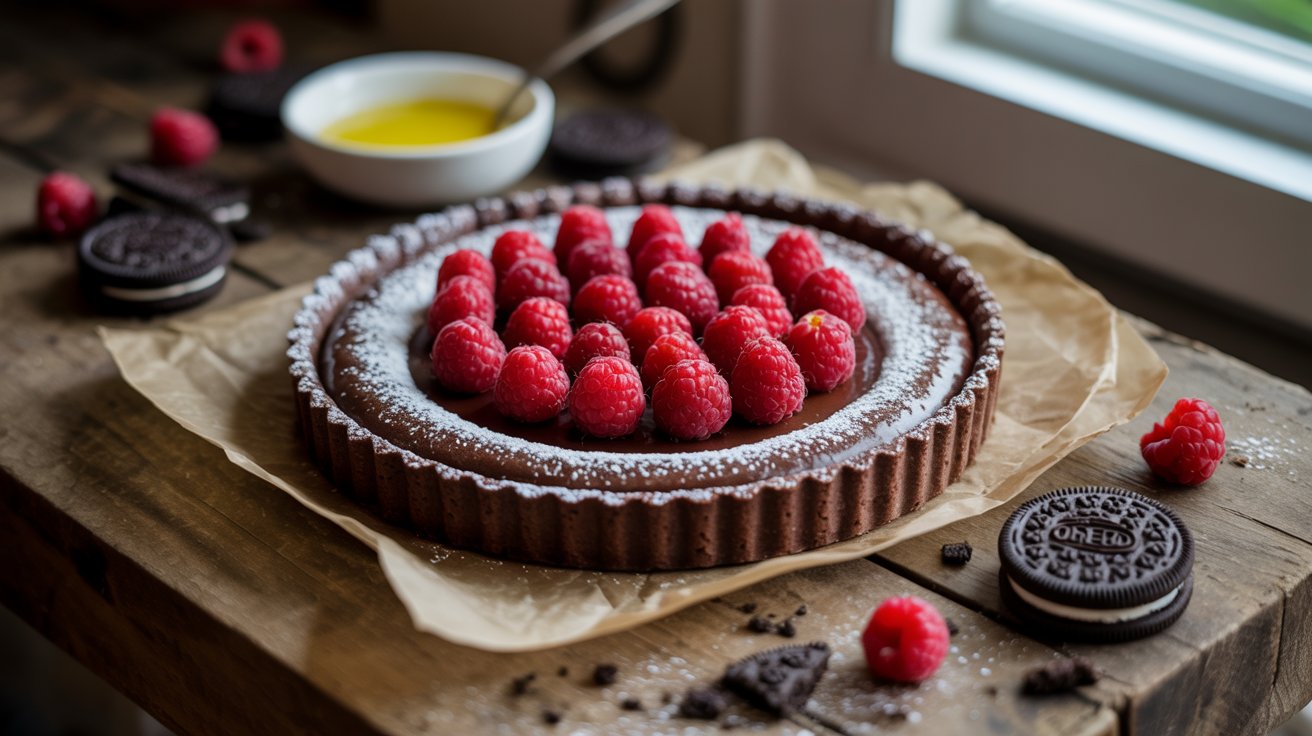
Few desserts strike the perfect balance between elegance and indulgence quite like a Raspberry Chocolate Tart. With a buttery, no-bake Oreo crust, a silky ganache filling made from premium chocolate and heavy cream, and a crown of fresh, jewel-toned raspberries, this tart is a showstopper worthy of any special occasion—or simply a luxurious treat to elevate your weekend.
This recipe is a dream come true for chocolate lovers, fruit fanatics, and anyone who enjoys making desserts that are as beautiful as they are delicious. Whether you’re hosting a dinner party, planning a romantic evening, or looking for a unique dessert to bring to a celebration, this tart delivers sophistication with minimal effort.
Why You’ll Love This Raspberry Chocolate Tart
-
Simple Ingredients, Big Flavor: Made with just a few pantry staples and fresh raspberries.
-
No-Bake Crust: The Oreo cookie base adds deep flavor and comes together in minutes.
-
Gorgeous Presentation: The vibrant contrast of raspberries against the dark chocolate ganache is visually stunning.
-
Make-Ahead Friendly: Chill the tart overnight and garnish just before serving.
-
Customizable: Swap raspberries for strawberries, blackberries, or a mix of fresh berries.
Ingredients Breakdown
Crust
-
1 ½ cups Oreo cookie crumbs (about 24 cookies, crushed finely)
-
6 tablespoons salted butter, melted
Filling
-
12 ounces dark or semi-sweet chocolate, chopped
-
1 ¼ cups heavy cream
Finishing Touches
-
2 pints fresh raspberries
-
Powdered sugar or chocolate curls (optional garnish)
Note: Use high-quality chocolate for best results—look for chocolate bars labeled 60-70% cocoa for a rich, balanced flavor.
Kitchen Equipment Needed
To make this tart seamlessly, gather the following tools:
-
9-inch tart pan with removable bottom
-
Food processor or blender
-
Heatproof mixing bowls
-
Measuring cups and spoons
-
Rubber spatula
-
Saucepan or microwave-safe bowl (for heating cream)
-
Offset spatula or spoon (for smoothing ganache)
-
Fine mesh sieve (for dusting powdered sugar, optional)
-
Vegetable peeler (for making chocolate curls, optional)
Step-by-Step Instructions
Step 1: Make the Oreo Crust
-
Pulse Oreo cookies in a food processor until finely ground. You should have 1 ½ cups of crumbs.
-
Mix in melted butter until the texture resembles wet sand.
-
Press the mixture firmly into the bottom and up the sides of a 9-inch tart pan. Use the bottom of a glass to help compact the crust.
-
Chill in the refrigerator for at least 30 minutes to set.
Pro Tip: Want an extra-crunchy crust? Bake at 350°F (175°C) for 8 minutes, then cool completely before filling.
Step 2: Prepare the Ganache Filling
-
Place chopped chocolate in a heatproof bowl.
-
In a small saucepan, heat heavy cream over medium heat until it just begins to simmer. Do not boil.
-
Pour the hot cream over the chocolate and let sit for 2–3 minutes.
-
Stir gently with a rubber spatula until the mixture is smooth and glossy.
Step 3: Assemble the Tart
-
Pour ganache into the prepared crust and smooth the top.
-
Chill in the fridge for 2–3 hours, or until the filling is fully set.
Step 4: Garnish and Serve
-
Arrange raspberries on top in concentric circles or an artful pile.
-
Optionally, dust with powdered sugar or sprinkle with chocolate curls just before serving.
Note: Add garnishes just before serving to prevent fruit juices from seeping into the ganache.
Storage Instructions
-
Refrigerator: Store the tart covered in the refrigerator for up to 3–4 days. Use plastic wrap or a cake dome to protect the fruit.
-
Freezing: The tart (without fruit topping) can be frozen for up to 1 month. Thaw overnight in the fridge and top with fresh raspberries before serving.
Recipe Tips and Variations
Flavor Variations
-
Fruit Swap: Use blackberries, strawberries, or blueberries instead of raspberries.
-
Citrus Zest: Stir a teaspoon of orange or lemon zest into the ganache for a bright twist.
-
Nut Crust: Replace Oreo crumbs with almond flour or crushed pecans for a gluten-free version.
Texture Enhancements
-
Crunch Layer: Add a layer of crushed freeze-dried raspberries or chopped hazelnuts over the ganache before it sets.
-
Whipped Cream: Serve with a dollop of lightly sweetened whipped cream for extra indulgence.
Chocolate Options
-
Use milk chocolate for a sweeter, creamier filling.
-
Combine half dark and half milk chocolate for a balanced profile.
Pairing Suggestions
Drinks
-
Coffee or Espresso: Complements the richness of the ganache.
-
Red Wine: A glass of Cabernet Sauvignon or Pinot Noir enhances the dark chocolate and berry notes.
-
Raspberry Tea or Sparkling Water: For a non-alcoholic option, these drinks echo the tart’s flavors beautifully.
Food Pairings
-
Cheese Board: Serve alongside mild cheeses like Brie or goat cheese to create a refined dessert platter.
-
Light Main Course: Ideal after a meal of roasted chicken or grilled vegetables to end on a decadent note.
Frequently Asked Questions (FAQ)
Q: Can I use a store-bought crust?
A: Yes, a pre-made Oreo or chocolate cookie crust will work in a pinch, though homemade offers the best flavor and texture.
Q: How long does the tart need to chill?
A: Chill for at least 2–3 hours, or until the ganache is firm. Overnight chilling is also fine and can enhance the flavor.
Q: Can I make this dairy-free?
A: Yes, substitute coconut cream for heavy cream and use dairy-free chocolate. The flavor will have a hint of coconut, which pairs nicely with raspberries.
Q: Can I use frozen raspberries?
A: Fresh raspberries are best for presentation and texture. Frozen raspberries release moisture when thawed, which can make the tart soggy.
Q: How do I make clean slices?
A: Dip a sharp knife in hot water, wipe dry, and slice. Repeat between cuts for neat edges.
Final Thoughts
This Raspberry Chocolate Tart is a luxurious, luscious dessert that proves you don’t need fancy techniques or ingredients to create something truly memorable. With its rich ganache filling, easy cookie crust, and burst of fresh berries, it’s the perfect ending to any meal—or the star of your next celebration.
If you try this recipe, don’t forget to share it with your friends and family! And if you enjoyed this post, be sure to subscribe to the blog for more gourmet-inspired yet approachable recipes straight to your inbox. Happy baking!