Tin Roof Cookie Cups – A Dreamy Dessert with Built-In Wow Factor
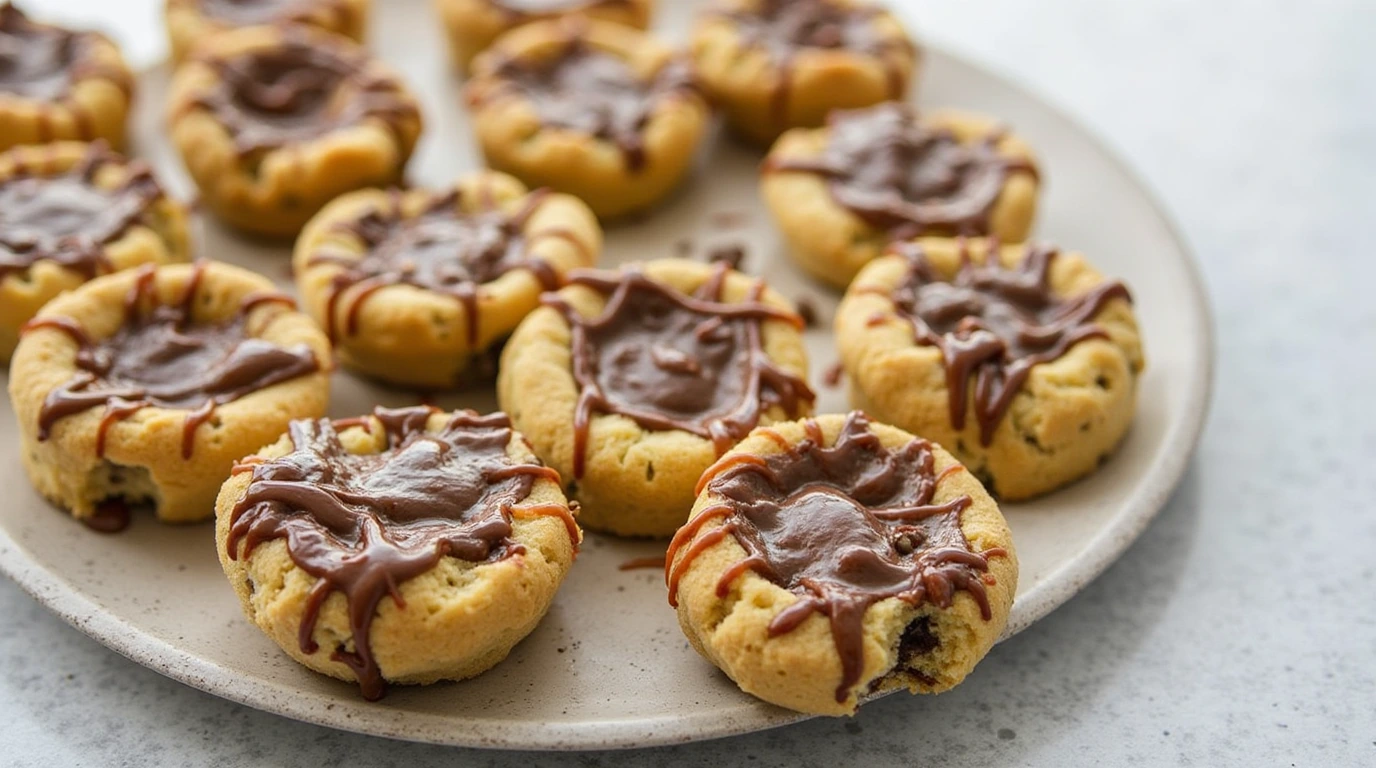
Looking for a show-stopping dessert that delivers both nostalgia and indulgence with minimal effort? These Tin Roof Cookie Cups are your answer. Think buttery, golden-baked cookie cups filled with scoops of creamy Tin Roof ice cream, all crowned with a drizzle of rich chocolate sauce. The contrast of warm and cold, crunchy and creamy, creates an unforgettable bite every time.
Perfect for entertaining guests, celebrating a birthday, or just treating yourself on a cozy weekend at home, this dessert is deceptively simple but guaranteed to impress. Whether you’re a home baker looking to elevate your skills or a busy parent in need of a quick crowd-pleaser, these cookie cups are a no-fuss, high-reward treat that will soon become a go-to favorite.
Why You’ll Love Tin Roof Cookie Cups
-
Bakes in Under 20 Minutes: Quick to make, quicker to enjoy.
-
Perfect Individual Servings: Each cup is its own decadent dessert.
-
Customizable & Fun: Change up the ice cream or add your favorite toppings.
-
No Fancy Equipment Needed: Just basic baking tools and a muffin tray.
-
Elegant Yet Playful: Kids love them, adults adore them.
Ingredients You’ll Need
This recipe is built on simplicity. Just five core ingredients:
-
1 cup (230g) unsalted butter, softened
-
½ cup icing sugar
-
2 cups PnP Cake Wheat Flour
-
½ cup chocolate chips
-
12 scoops PnP Tin Roof Dairy Ice Cream
Optional toppings: chocolate sauce, chopped peanuts, maraschino cherries, or sprinkles.
Step-by-Step Instructions
1. Preheat & Prepare
Preheat your oven to 180ºC (fan-assisted). Grease a standard 12-hole muffin tray generously to prevent sticking.
2. Cream Butter & Sugar
In a large mixing bowl, beat the softened butter and icing sugar for about 3–4 minutes until the mixture becomes pale and fluffy. This step is key for creating that melt-in-your-mouth cookie base.
3. Add Flour & Mix Dough
Sift the PnP Cake Wheat Flour into the butter mixture and mix until it forms a smooth dough. Stir in the chocolate chips until evenly distributed.
4. Shape & Press
Transfer the dough onto a clean surface and roll it into a uniform log. Cut it into 12 equal disks, then place each one into the greased muffin tray. Press down to form a thick base in each cavity.
5. Bake to Golden Perfection
Bake in the oven for 15 minutes, or until the edges are golden brown and the cookies are slightly puffed.
6. Shape While Warm
Here’s the magic: While the cookies are still warm and soft, press down the center of each with the bottom of a small glass (make sure it’s smaller than the muffin cavity). This creates a deep well to hold your ice cream later.
7. Cool Completely
Let the cookie cups cool fully in the muffin tray. This helps them set and makes removing them easier without breaking.
8. Assemble and Serve
Once cooled, gently lift the cookie cups out. Place on a platter and fill each with a generous scoop of Tin Roof Dairy Ice Cream. Finish with a drizzle of chocolate sauce, and if you’re feeling fancy, sprinkle on chopped peanuts or a cherry on top.
Kitchen Equipment Needed
-
12-hole muffin tray
-
Mixing bowls
-
Electric hand mixer or stand mixer
-
Sieve
-
Rubber spatula or wooden spoon
-
Sharp knife
-
Baking scale or measuring cups
-
Small glass or shot glass (for pressing cookie cups)
-
Ice cream scoop
-
Cooling rack (optional)
Storage Instructions
Leftover cookie cups (unfilled) can be stored in an airtight container at room temperature for up to 5 days. To freeze them, layer with parchment paper and store in a freezer-safe container for up to 2 months.
Assembled cups with ice cream should be eaten immediately, but you can pre-scoop the ice cream into balls and freeze them separately for easy assembling later.
Recipe Tips and Shortcuts
-
Soft butter = happy dough: Make sure your butter is softened but not melted for optimal cookie texture.
-
Make ahead: Bake the cookie cups a day or two in advance and store them until you’re ready to serve.
-
Even cups every time: Use a cookie scoop or a scale to divide the dough evenly.
-
Clean release: Lightly flour the glass before pressing it into the cookie to prevent sticking.
-
No muffin tray? Try using silicone muffin molds for easy release and consistent results.
Custom Variations
Swap the Ice Cream
-
Peanut butter swirl: for a nutty boost.
-
Salted caramel: for a rich, buttery flavor profile.
-
Mint chocolate chip: adds a refreshing contrast to the warm cookie.
Flavor the Cookie Base
-
Add vanilla extract or espresso powder for depth.
-
Mix in nuts or toffee bits instead of chocolate chips.
Make it Gluten-Free
-
Use a 1:1 gluten-free baking flour to make this recipe friendly for gluten sensitivities.
Go Nut-Free
-
Skip Tin Roof and sub with chocolate or strawberry ice cream to keep it nut-free.
Serving Suggestions
These Tin Roof Cookie Cups make the perfect end to:
-
Dinner parties: Prep ahead and serve plated with a spoon and napkin.
-
BBQs: A hit with kids and adults alike.
-
Birthdays: Add candles to each for a fun and unique birthday dessert.
-
Movie nights: Serve alongside popcorn for the ultimate salty-sweet combo.
Pair with:
-
Espresso shots or iced coffee
-
Sparkling water with lemon or mint
-
Milkshakes for a retro diner-style dessert course
Frequently Asked Questions (FAQ)
Can I make the dough in advance?
Yes! You can prepare the dough and refrigerate it for up to 48 hours. Let it sit at room temperature for 10–15 minutes before shaping.
What is Tin Roof ice cream?
Tin Roof is a classic combination of vanilla ice cream, chocolate fudge swirls, and roasted peanuts. It’s creamy, nutty, and chocolatey—perfect for cookie cups.
What if I don’t have icing sugar?
You can make your own by blitzing granulated sugar in a blender until fine. However, icing sugar gives a smoother dough, so it’s worth using if possible.
Can I reheat the cookie cups?
It’s best to serve them at room temperature. Reheating may cause them to lose their structure and become too soft for ice cream.
How do I keep the cups from sticking?
Generously grease the muffin tray and let the cups cool completely before removing. You can also use silicone liners for extra insurance.
Who Should Try This Recipe
Whether you’re a weekend baker, a parent looking for a fun dessert for the family, or a food lover planning your next gathering, Tin Roof Cookie Cups check all the boxes. They’re indulgent, playful, and incredibly rewarding to serve.
Not only do they offer versatility and stunning presentation, but they also make the kind of treat that gets remembered—and requested again and again.
Final Thoughts
Tin Roof Cookie Cups are proof that you don’t need a pastry chef’s skills or a pantry full of fancy ingredients to create a dessert that feels special. With buttery cookie bases, indulgent scoops of creamy ice cream, and rich chocolate drizzle, they deliver maximum impact with minimal effort.
Once you’ve made these, you’ll be tempted to experiment with other ice cream flavors, toppings, and cookie variations. The possibilities are endless—and always delicious.