
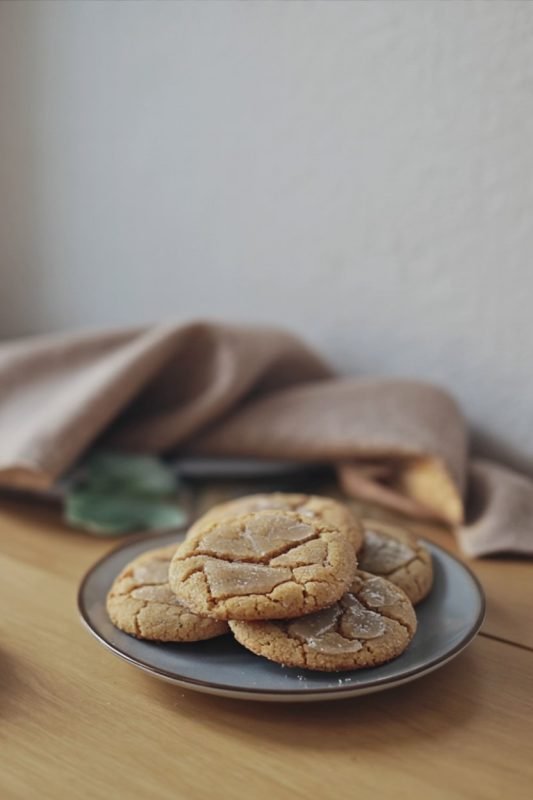
Ever tried to capture the cozy, golden essence of autumn in a single bite? It sounds like a tall order, but I promise you, it’s not only possible but surprisingly simple. These Maple Brown Sugar Cookies are the answer. They are a warm hug in food form, perfectly balancing the rich, caramel notes of packed brown sugar with the unmistakable, rustic sweetness of pure maple syrup.
Forget those flat, uninspired cookies. We’re about to create a batch of irresistibly soft, chewy centers with lightly crisp edges. Drizzled with a silky maple glaze, this recipe is the perfect treat for a cool afternoon, a holiday cookie exchange, or simply to satisfy a sweet craving. This easy-to-follow guide will make these homemade maple cookies your new seasonal favorite.
Ingredients You’ll Need
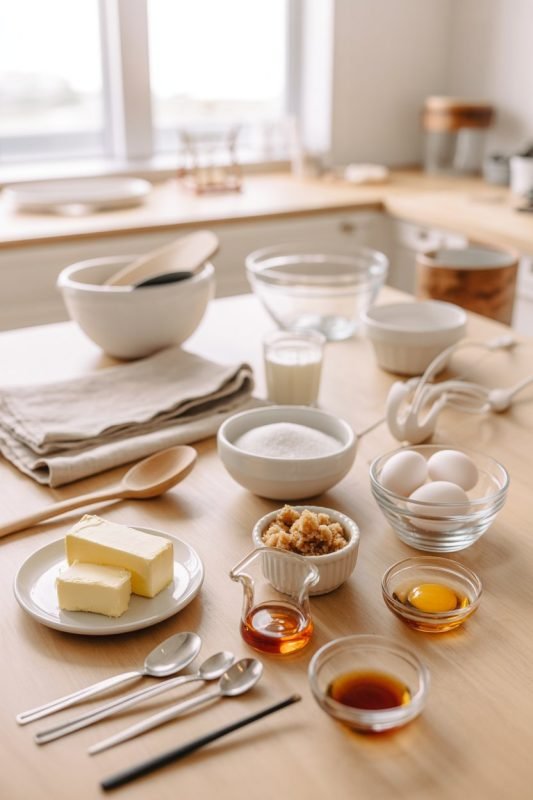
Here is the full list of ingredients you’ll need to gather. Using softened butter and pure maple syrup (not pancake syrup!) is crucial for the best flavor and texture.
| Ingredient | Amount/Quantity |
| For the Cookies | |
| Unsalted butter, softened | 1 cup |
| Brown sugar, packed | 1 cup |
| Pure maple syrup | 1/4 cup |
| Large egg, at room temperature | 1 |
| Vanilla extract | 1 teaspoon |
| All-purpose flour | 2 1/2 cups |
| Baking soda | 1 teaspoon |
| Salt | 1/2 teaspoon |
| Ground cinnamon | 1/2 teaspoon |
| For the Maple Glaze | |
| Powdered sugar | 1 cup |
| Pure maple syrup | 2 tablespoons |
| Milk (any kind) | 1-2 tablespoons |
| Optional garnish: ground cinnamon | A small sprinkle |
Timing
- Preparation Time: 20 minutes (for mixing the dough and shaping the cookies)
- Cook Time: 8-10 minutes per batch
- Total Time: Approximately 50 minutes (includes time for cooling and glazing)
In less than an hour, you can have these gourmet-tasting cookies ready to serve. It’s the perfect quick baking project for a cozy weekend.
Step-by-Step Instructions
Step 1: Preheat Your Oven and Prep Your Pans
First things first: set your oven to 350°F (175°C). This ensures it’s perfectly hot and ready to go when your dough is. Line two large baking sheets with parchment paper or silicone mats.
Tip: Using parchment paper is the secret to easy cleanup and prevents the cookies from spreading too much or sticking to the pan.
Step 2: Cream the Butter, Sugar, and Wet Ingredients
In a large bowl, or the bowl of your stand mixer, combine the softened unsalted butter and packed brown sugar. Beat them together on medium speed for about 2-3 minutes. You’ll know it’s ready when the mixture becomes light, fluffy, and almost pale in color. This step is vital as it whips air into the dough, which is the key to a soft cookie!
Scrape down the sides of the bowl, then add the pure maple syrup, large egg, and vanilla extract. Beat again on medium speed until everything is smooth and fully combined.
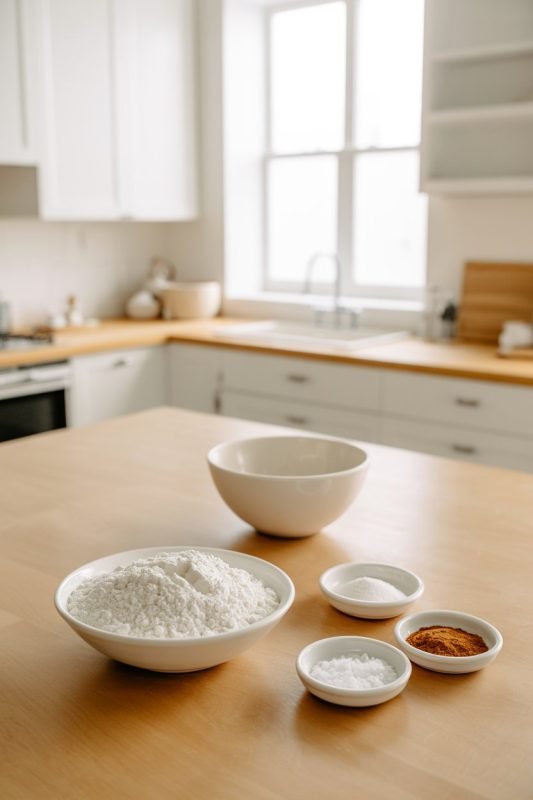
Step 3: Whisk the Dry Ingredients
In a separate, medium-sized bowl, whisk together the all-purpose flour, baking soda, salt, and ground cinnamon. Whisking them before adding them to the wet mixture ensures the baking soda, salt, and spice are evenly distributed. This means you’ll get a consistent rise and flavor in every single cookie.
Step 4: Combine Wet and Dry Mixtures
Gradually add the dry ingredient mixture to the wet mixture, mixing on low speed. Be careful to mix just until the flour streaks have disappeared.
Pro-Tip: Do not overmix! Overmixing the dough develops too much gluten, which results in tough, dense cookies. A gentle hand is best for that sought-after soft and chewy texture. A few small lumps are perfectly fine.
Step 5: Shape and Flatten the Cookies
Roll the dough into uniform 1 1/2-inch balls. Using a cookie scoop is a fantastic way to get them all the same size, which helps them bake evenly. Place the dough balls on your prepared baking sheets, leaving about 2 inches of space between them to allow for spreading.
Gently flatten each ball with the palm of your hand or the bottom of a drinking glass.
Step 6: Bake to Golden Perfection
Bake in your preheated 350°F (175°C) oven for 8-10 minutes. The cookies are done when the edges are just beginning to turn a light golden brown and the centers look set (but not wet).
Crucial Tip: For the chewiest maple brown sugar cookies, you must avoid overbaking. They will continue to cook and firm up on the hot pan as they cool. Let them cool on the baking sheets for 5 minutes before carefully transferring them to a wire rack to cool completely.
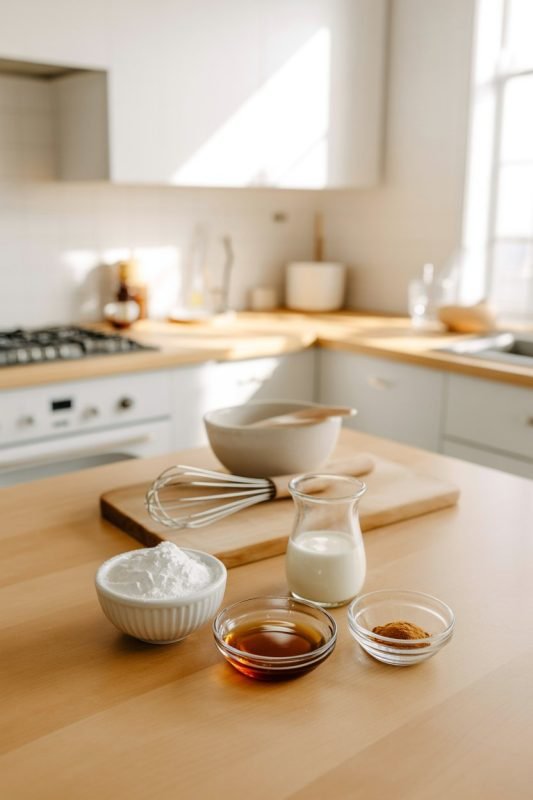
Step 7: Prepare the Silky Maple Glaze
While the cookies are cooling, you can make the delicious maple glaze. In a small bowl, whisk together the powdered sugar and 2 tablespoons of pure maple syrup. It will be very thick.
Add the milk just 1 tablespoon at a time, whisking vigorously after each addition, until you reach a smooth, pourable consistency. If it’s too thick, add a few more drops of milk. If it’s too thin, simply add a bit more powdered sugar.
Step 8: Glaze and Serve
Once the cookies are completely cool (this is important, or the glaze will melt right off!), drizzle the maple glaze over them. You can use your whisk, a spoon, or even a piping bag for a cleaner, zig-zag look.
For an extra touch of warmth and visual appeal, add an optional sprinkle of ground cinnamon while the glaze is still wet. Allow the glaze to set (this takes about 15-20 minutes) before serving or storing.
Nutritional Information
Here is an estimated nutritional breakdown per cookie (assuming the recipe yields 24 cookies). Please note this is an approximation.
- Calories: 165 kcal
- Carbohydrates: 22 g
- Protein: 2 g
- Fat: 8 g (Saturated: 5 g)
- Sugar: 14 g
- Sodium: 120 mg
Healthier Alternatives
Want to adjust this recipe? Here are a few simple swaps:
- For Added Fiber: Replace half (1 1/4 cups) of the all-purpose flour with white whole wheat flour. This will add a slightly nuttier flavor and more fiber without making the cookies too dense.
- Make it Vegan: Use your favorite brand of plant-based butter sticks (not margarine from a tub) and a flax egg (mix 1 tablespoon of ground flaxseed with 3 tablespoons of water and let it sit for 5 minutes to gel). Ensure your milk for the glaze is also plant-based (oat or almond milk works well).
- Make it Gluten-Free: You can easily substitute the all-purpose flour with a high-quality 1:1 gluten-free baking blend.
- Lower Sugar: While sugar is key to this cookie’s texture, you can opt to skip the glaze entirely. The cookies themselves have a wonderful, deep flavor that stands on its own.
Serving Suggestions

These cookies are a delight all on their own, but they truly shine when paired with the right beverage.
- Perfect Pairings: Serve with a tall glass of cold milk, a hot cup of black coffee, or a “London Fog” (Earl Grey tea latte). The bittersweet notes of coffee or tea cut through the sweetness beautifully.
- Occasions: These are the ultimate fall baking treat. They are perfect for bringing to a Thanksgiving gathering, adding to a Christmas cookie exchange platter, or packaging in a beautiful box as a homemade holiday gift.
- Gourmet Touch: For an extra pop of flavor, add a tiny sprinkle of flaky sea salt on top of the wet glaze. The sweet and salty combination is divine!
Common Mistakes to Avoid
To guarantee perfect cookies every time, watch out for these common pitfalls:
- Using Cold Butter: Your butter must be softened to room temperature. Cold butter won’t cream properly with the sugar, and you’ll lose that light, fluffy texture.
- Using “Maple-Flavored” Syrup: This is the biggest mistake! Breakfast or pancake syrup is just corn syrup with artificial flavoring. You must use 100% pure maple syrup for the authentic, rich flavor.
- Glazing Warm Cookies: Be patient! If you drizzle the glaze on even slightly warm cookies, it will melt, lose its opaque white color, and soak into the cookie, making it soggy instead of creating a nice “cap.”
- Overbaking: We said it before, but it’s worth repeating. The number one reason for hard, crunchy cookies is overbaking. Pull them from the oven when the centers look just set. They will firm up perfectly as they cool.
Storing Tips
- At Room Temperature: Once the glaze has fully set, store the cookies in an airtight container at room temperature for up to 4 days. Placing a slice of bread in the container can help keep them soft.
- Freezing Baked Cookies: For longer storage, freeze the unglazed cookies. Place them in a single layer on a baking sheet to flash-freeze, then transfer them to a freezer-safe bag or container. They will last for up to 3 months. Let them thaw at room temperature before glazing and serving.
- Freezing the Dough: This dough freezes beautifully! Roll the dough into balls, place them on a parchment-lined tray, and freeze until solid. Transfer the frozen dough balls to a freezer bag. You can bake them directly from frozen; just add 1-2 minutes to the baking time.
Conclusion
These Maple Brown Sugar Cookies are more than just a dessert; they are an experience. That first bite—the soft, chewy texture, the deep caramel and cinnamon notes, and the sweet kick from the maple glaze—is pure comfort. This recipe is straightforward, reliable, and guaranteed to fill your kitchen with the most incredible aroma.
We hope you enjoy making and savoring this recipe as much as we do. Try it out and let us know in the comments below how it turned out for you! We’d love to hear your feedback or any creative twists you added. Don’t forget to rate the recipe and subscribe to our blog for more delicious, easy-to-follow recipes!
FAQs (Frequently Asked Questions)
Q1. Can I use dark brown sugar instead of light?
Absolutely! Using dark brown sugar will give the cookies an even richer, deeper molasses flavor and may make them slightly softer and chewier. Light brown sugar gives a more delicate caramel note. Both are delicious.
Q2. My glaze is too thick/thin. How do I fix it?
This is an easy fix! The consistency of the glaze depends heavily on the brand of powdered sugar and maple syrup.
- If it’s too thick: Add more milk, but do it a few drops at a time while whisking. It thins out very quickly.
- If it’s too thin: Add more powdered sugar, 1 tablespoon at a time, until it thickens to a “drizzle-able” consistency.
Q3. Can I make these gluten-free?
Yes! This recipe works very well with a high-quality 1:1 gluten-free all-purpose baking blend (one that contains xanthan gum). Simply substitute it for the all-purpose flour in the same amount.
Q4. Do I need to chill the dough?
For this specific recipe, no chilling is required! That’s part of what makes it so quick and easy. The dough is firm enough to roll and bake immediately. However, if your kitchen is very warm and the dough feels sticky, you can chill it for 30 minutes to make it easier to handle.
Soft & Chewy Maple Brown Sugar Cookies (Easy Recipe)
Equipment
- Baking sheets
- Parchment paper or silicone mats
- Mixing bowls
- Hand mixer or stand mixer
- Measuring cups and spoons
- Whisk
- Cookie scoop
- Wire rack
Ingredients
For the Cookies
- 1 cup unsalted butter, softened
- 1 cup brown sugar, packed
- 1/4 cup pure maple syrup
- 1 large egg, at room temperature
- 1 tsp vanilla extract
- 2 1/2 cups all-purpose flour
- 1 tsp baking soda
- 1/2 tsp salt
- 1/2 tsp ground cinnamon
For the Maple Glaze
- 1 cup powdered sugar
- 2 tbsp pure maple syrup
- 1-2 tbsp milk (any kind) as needed for consistency
Optional Garnish
- ground cinnamon a small sprinkle
Instructions
- Preheat: Heat oven to 350°F (175°C). Line 2 baking sheets with parchment or silicone mats.
- Cream: Beat softened butter and packed brown sugar on medium speed until light and fluffy, 2–3 minutes. Scrape bowl; mix in maple syrup, egg, and vanilla until smooth.
- Dry mix: In a separate bowl whisk flour, baking soda, salt, and cinnamon until evenly combined.
- Combine: Add dry ingredients to wet on low speed just until the flour disappears. Do not overmix.
- Shape: Scoop 1½-inch balls (about 1½ tbsp each), spacing 2 inches apart. Gently flatten tops with your palm or a glass.
- Bake: 8–10 minutes, until edges are lightly golden and centers look set. Cool on sheets 5 minutes, then transfer to a wire rack to cool completely.
- Glaze: Whisk powdered sugar with maple syrup (thick). Add milk 1 tbsp at a time to reach a smooth, pourable glaze.
- Finish: Drizzle glaze over cooled cookies; optionally sprinkle with a pinch of cinnamon. Let set 15–20 minutes before serving or storing.